How To Paint A Room?
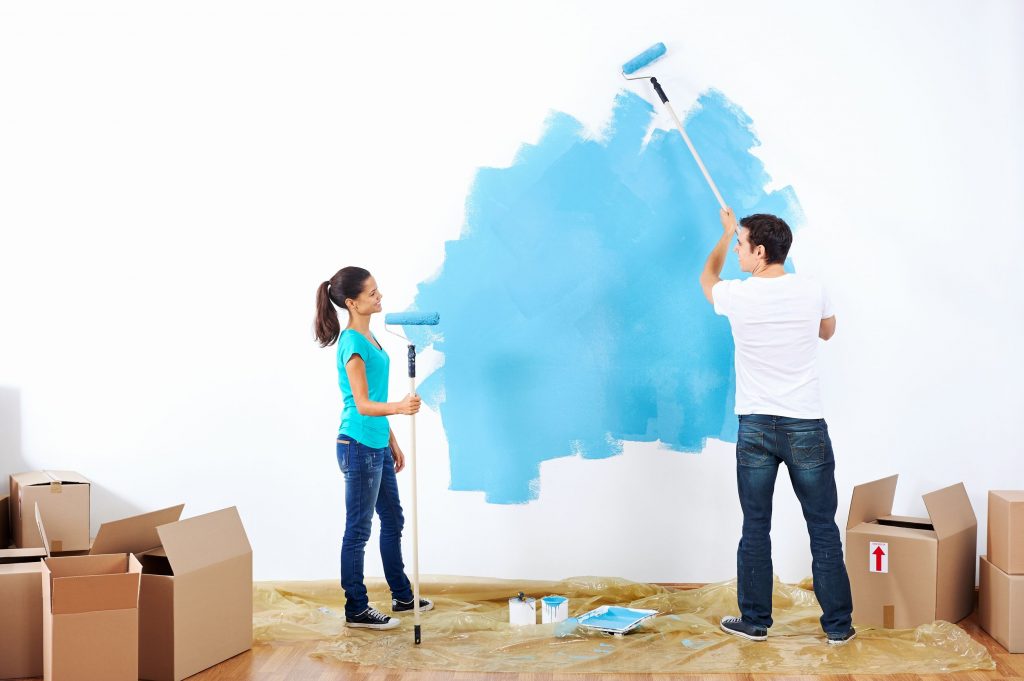
Who doesn’t like to be greeted by the happy hues in one’s home? A paint job is the finishing touch of a good home improvement project. Painting can transform rooms of any size without overwhelming them. You can set the mood of a room using colors.
Powder blue on the walls? The room instantly feels calming and restorative. A splash of bright yellow across the room? It’s sure to aid you in energetically buzzing like a bee. Creative ways to paint can bring joy and interest to any interior design scheme.
However, it is also relatively easy to botch up in the hands of an inexperienced designer or painter. Painting is not as easy as it looks. A lot of deliberation, preparation, care, and effort goes into a good paint job.
We have compiled a list of rules or guidelines for you to avoid common paint mistakes like sagging, staining, dripping, and splattering that would otherwise waste precious time and money.
Read also – 20 Ways To Add Color To Your Home Without Painting
Things to do Before Painting a Room or Home
Before you even pick up a brush, you must take care of many tasks.
1. Plan it out
Before starting the job, you must chalk out a concept, color scheme and palette. You must also plan the order in which you’d tackle the rooms to be painted. You will also need to designate a place or corner to safely store all your paint cans and paint supplies away from the sun.
Planning each stage of the paint job will ensure a smooth flow of operations. You are now better equipped to deal with any challenges that may arise.
2. Pick your shades
You will find yourself spoilt for choice when it comes to color options. The variations in hues, shades, and tints available in each color yield a limitless line of options. You can start the process by setting an end goal for each room.
Get the homeowners involved in the discussion. Find out what their favorite colors are! Who is the intended use of each room, and what motivates them? Would they prefer an overall cool or warm color scheme?
Do they want neutral or bold room aesthetics? Matte, glossy or semi-gloss finish? Do they want an accent wall? Once you work through these questions, you will find it easier to arrive at the perfect color palette for the clients!
Read also – How To Use Color Theory in Interior Design?
3. Paint a swatch
After picking the colors, ensure to procure trial-sized tins of the intended interior paint colors and a few paint sample swatches on the walls. You should apply two coats of paint in 1-foot by 1-foot squares for best results.
If the room in question has patches in the sun and in the shadows, paint swatches on both halves. This will show you exactly how the color would look in natural light. Some paints may change in texture from semi-gloss to matte when dried. Swatches make sure you aren’t caught by surprise.
4. Figure out the quantity of paint needed
Different paint batches of the same color may have slight variations in their shades. Hence, it’s imperative to calculate precisely how much paint you’d require. Retailers like Home Depot can help you with these calculations. A gallon of paint can approximately cover about 250 to 400 square feet of wall area. Remember to always buy a little extra for touch-ups at a later stage.
5. Prepare the room
Before you actually start painting, you must prepare the entire room to be painted. Firstly, dry dust the walls and clean up any grime-filled areas. You can do this with a wet sponge, soapy water or any macro-fiber cloth. We do this to avoid bumps and dust particles that won’t allow the paint to settle.
Don’t forget to protect the furniture and the floor from paint spills and subsequent splatters using a drop cloth. Using fabric drop cloths to cover instead of plastic is a significant pro tip. This prevents the foot of the ladder or your shoes from sticking to the plastic sheet and tugging at it.
Read also – 20 Top Interior Color Schemes for Your House Design
Essentials for Painting A Room (Tools and Materials)
Now let’s take a look at the essential tools and materials for painting a room. No paint job preparation can be completed without reading the necessary gear. Following are some of the central items you will need for a successful paint job.
1. Painter's Tape
Painter’s tape, a type of masking tape, comes in different styles and sizes. You need to pick one according to the surface you wish to cover. After all, you wouldn’t want a tape with extra-strong adhesion ripping out the wood polish from your furniture. Continue taping off the surfaces that aren’t going to be painted. Always wait until the paint is completely dry before taking the tape off.
2. Rollers
Rollers and paint trays can be used when you have to cover large areas in a limited time. Natural rollers like wool rollers are the best for oil-based paints, whereas synthetic nylon rollers are best for latex paints. Keep an extension pole handy to make the job easier.
3. Paintbrush
Paint brushes are ideal for covering small areas and more detail-oriented paint jobs. Oil-based paints are applied with natural bristle brushes, while polyester brushes are used for latex paints. Angled brushes allow you higher precision while painting clean lines and in areas between window trim and walls.
4. Edger
An edger is your go-to for applying paint in small areas like window molding. A metal or plastic paint edger can be held against the molding while you continue to use color on the outside edge. Always clean the edger with a rag before you place it elsewhere to avoid leftover residue marks on fresh paint.
Read also – 10 Essential Tools for Interior Designers
15 Steps To Paint A Room Like A Pro
If you want to play in the pro league of painters, the following painting tips and pointers can help you achieve similar levels of success.
1. Sand away to smoothness
It goes without saying that you need to have a smooth base for a smooth paint finish. Use highly graded sandpaper to sand or scrub at all drywalls till they are perfectly smooth.
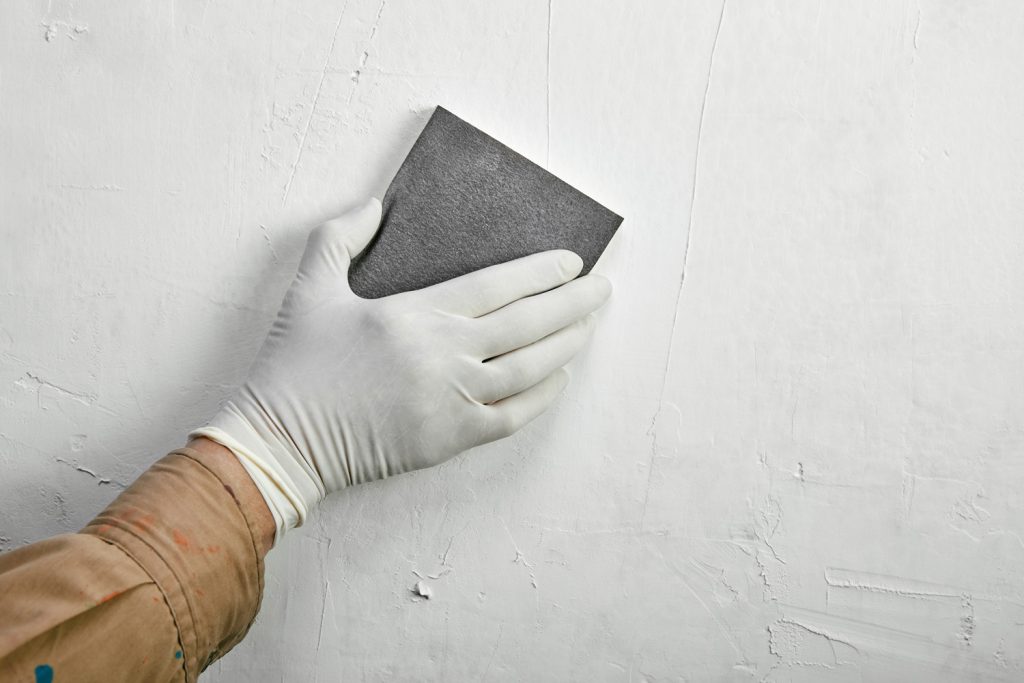
Image Credit: pexels.com
2. Stick tape with a putty knife
Use a putty knife to hold and stick down the painter’s tape. The tape must be pasted down precisely with no air bubbles or gaps. You will be heartbroken to discover that some of the paint has leaked after you are done painting.
Read also – How To Choose The Exterior Paint Colors for A House?
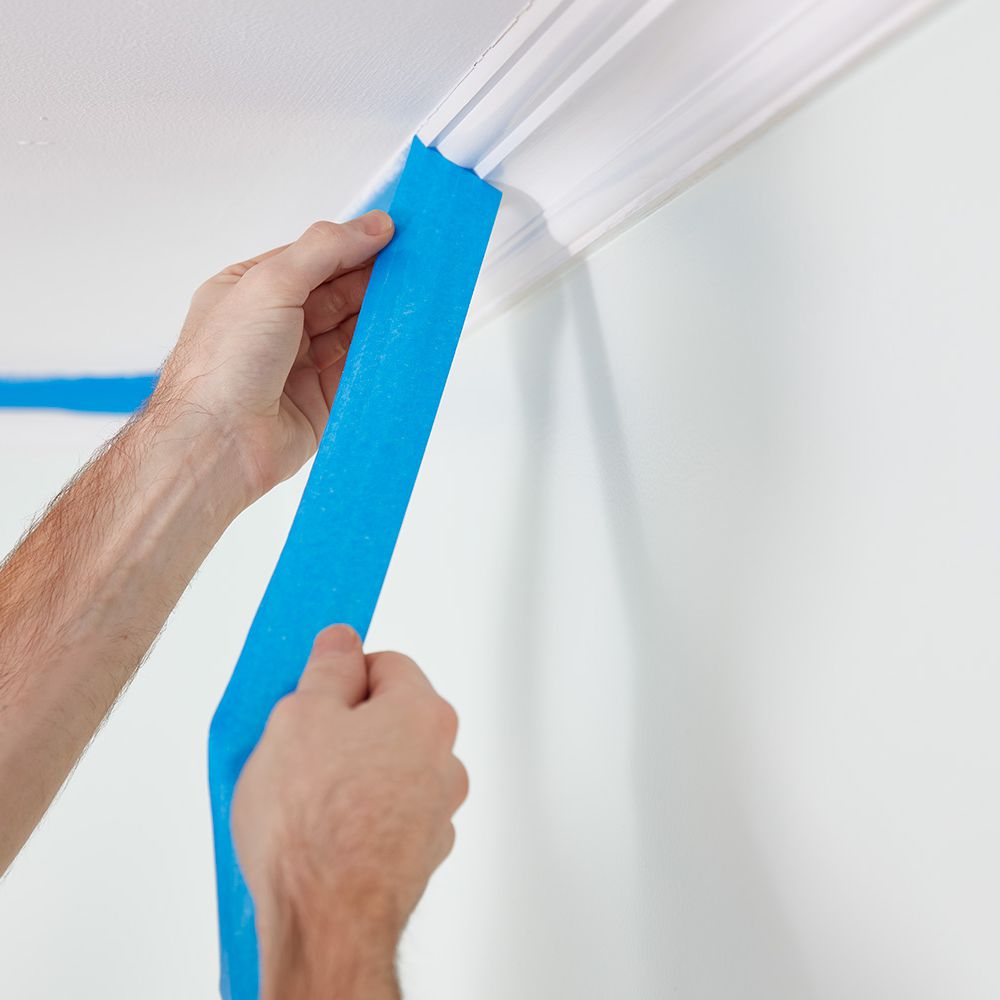
Image Credit: pexels.com
3. Conceal all furniture
It is always better to gather all the furniture in the center of the room and throw a plastic drop cloth over it than to drag it from room to room. Use a good quality cloth with no holes or tears to cover all your furniture, light switches, fixtures, and other items you don’t want the paint to fall on.

Image Credit: pexels.com
4. Utilize tinted primer
Before painting a wall, you need to apply a tinted primer coat. A form of spackling, the primer helps fill holes and patch up cracks to give a smooth surface to work on. However, the issue with regular primer is that it can dull your paint. Hence it’s advisable to use a tinted primer to achieve a flawless sheen or gloss.
Read also – Top 20 Neutral Paint Colors
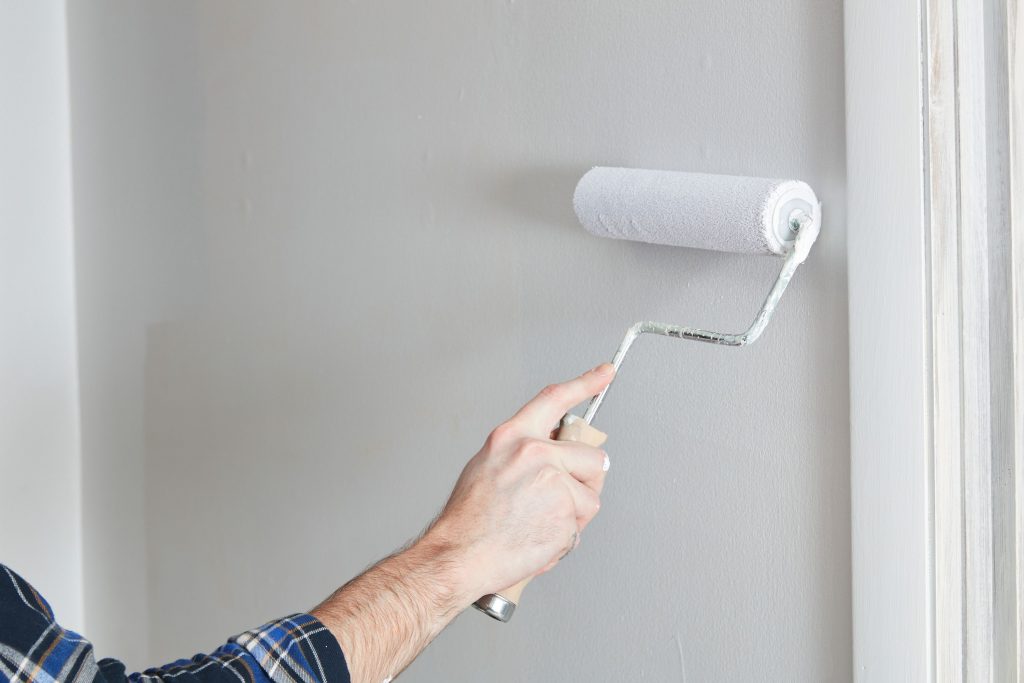
Image Credit: pexels.com
5. Don't go cheap on supplies
Purchasing cheap brushes of substandard quality can fall apart in the middle of a paint job. On the other hand, it’s better to buy better quality brushes and clean them regularly. The best brushes, if maintained well, last for a long time.
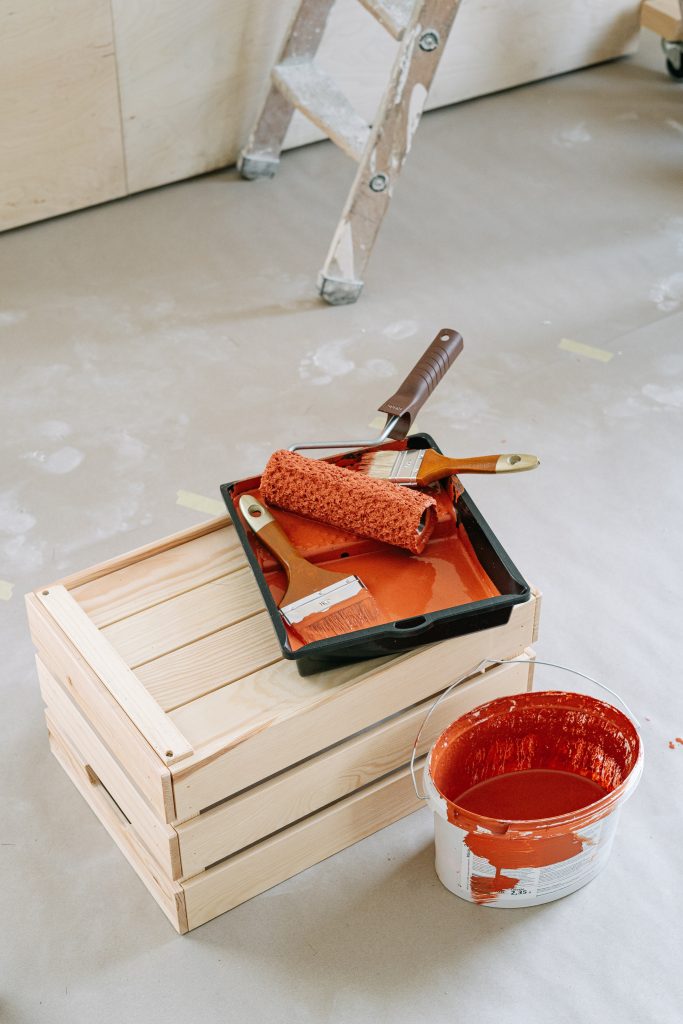
Image Credit: pexels.com
6. Use a Paint extender
One of the signs of an amateur paint job is that you can see visible lap marks on a finished wall. To avoid this, one needs to utilize a paint extender like Floetrol.
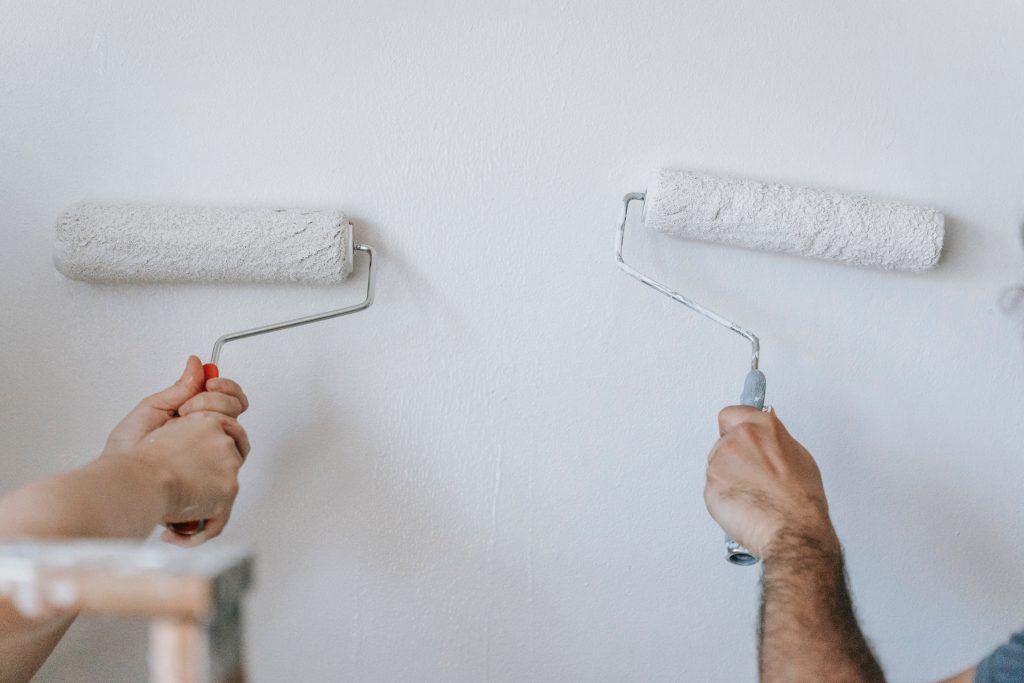
Image Credit: pexels.com
7. Draw a ridge while painting a ceiling
Not even professionals can avoid getting paint on the ceiling bumps while painting the top of a wall. But there is an easy solution to this problem. Carve a ridge into the ceiling edge with the help of a slotted screwdriver and scrape off a little bit of the texture. This helps in getting neatly painted wall edges at the top.
Read also – 20 Best Interior Design Tips To Decor Your Home
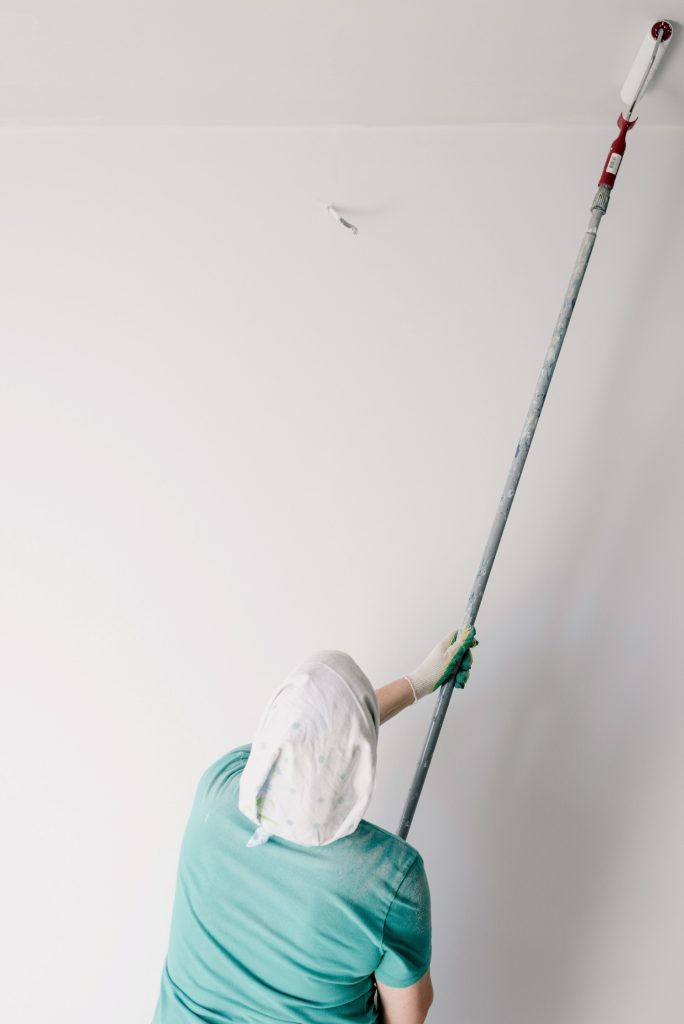
Image Credit: pexels.com
8. Scrape windows rather than paint
Painstakingly taping whole window frames and grills for painting around a window can quickly turn untidy. It is better to paint the window and let the glass take whatever paint splatters. A razor is all you need to easily scrape it off at the end of the job.
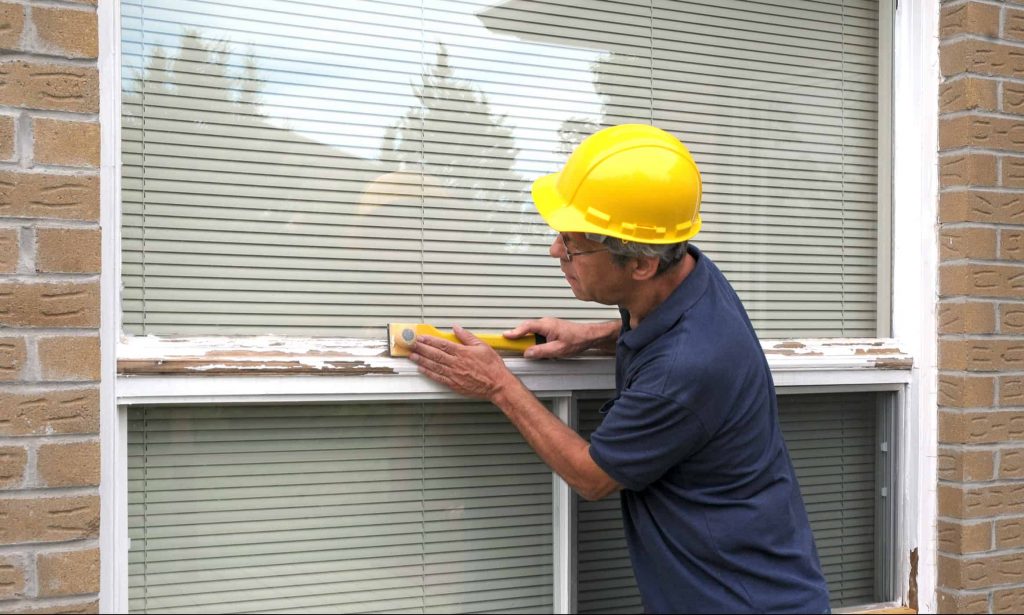
Image Credit: pexels.com
9. Buy boxed paint
Whenever you buy cans of paint of the same color from different batches, they’re never the same exact color. Although you won’t see much difference at first, you may notice slight variations once the paint dries up, especially if they are on the same wall.
Hence it’s always better to buy paint that belongs to the same box as they are more likely to have the same color. Be sure to keep stir sticks handy at all times.
Read also – The Psychology of Colors in Interior Design
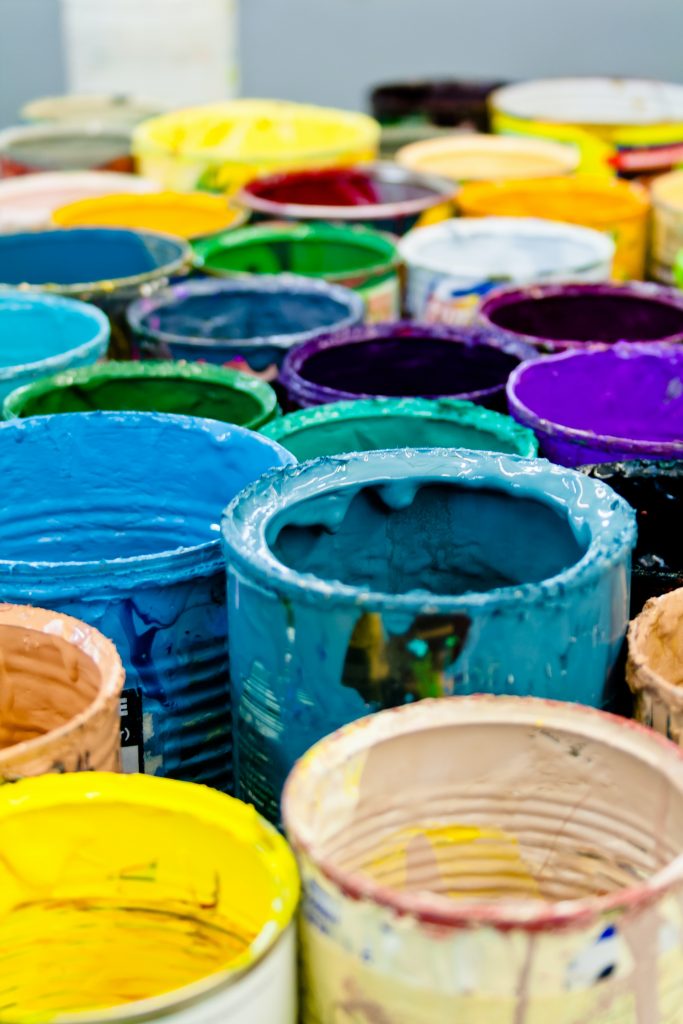
Image Credit : pexels.com
10. One wall at a time
Always remember to finish painting one wall and then move on to the next wall. It’s better to roll the paint from the painted wall onto a new one for a seamless look between walls.
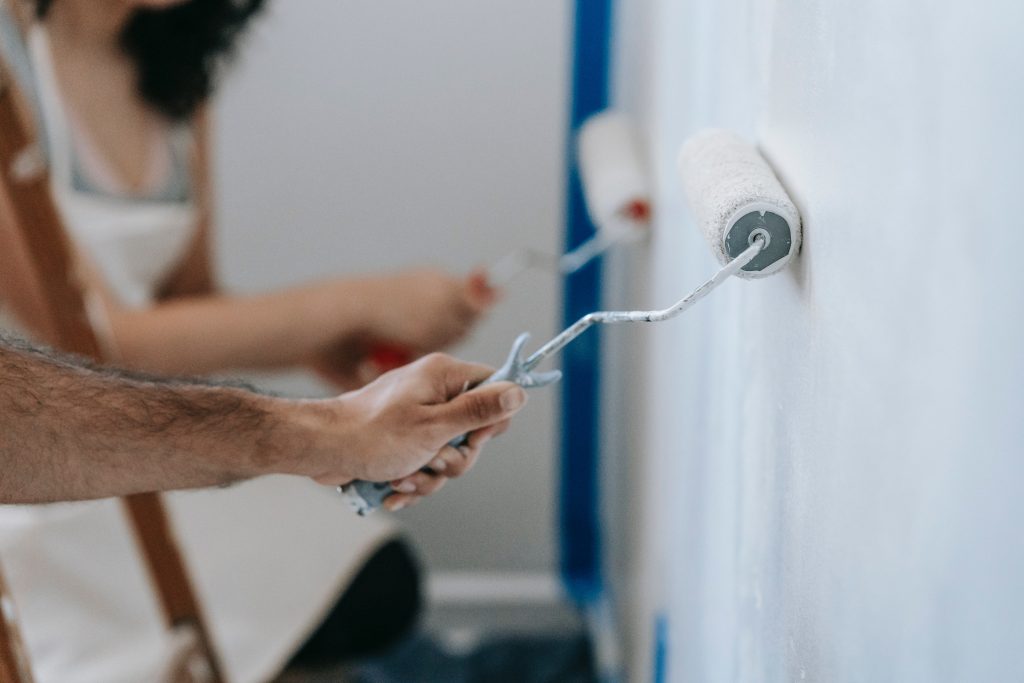
Image Credit: pexels.com
11. Purchase an extra bucket
Freshly poured paint doesn’t stay fresh for too long. It settles down, making the excess paint more viscous and clumpy. To avoid this, you must regularly pour the paint from one-gallon bucket to another to keep the paint freshly shaken and silken.
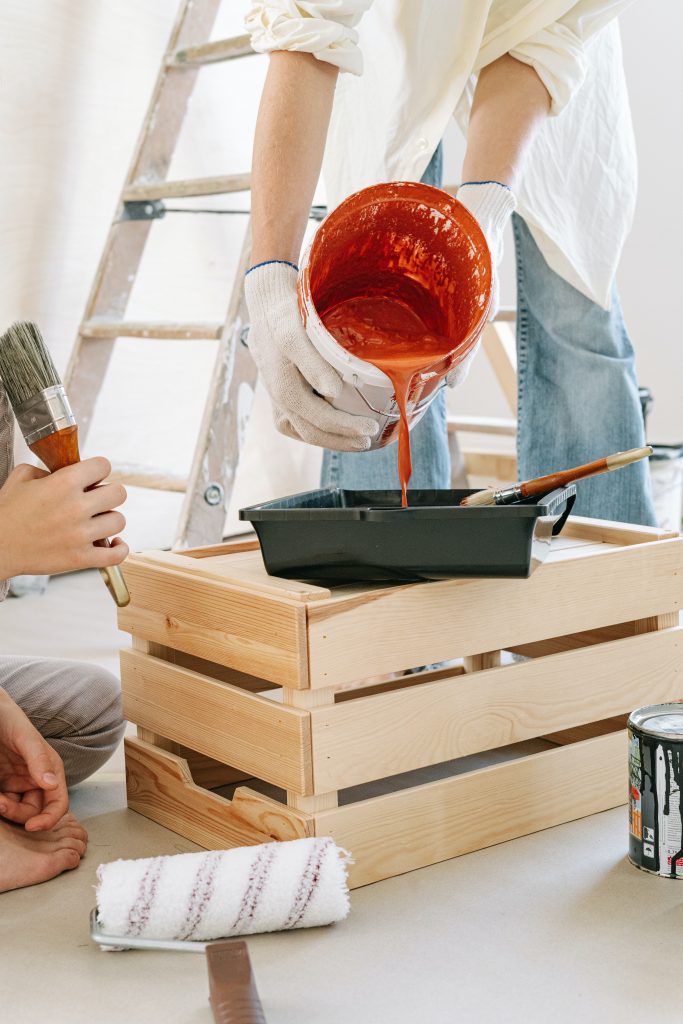
Image Credit: pexels.com
12. Keep cleaning tools
Be committed to cleaning the residue paint and other particles off brushes, roller covers and paint rollers so that scraps and peels of old paint don’t get left behind on a fresh coat.
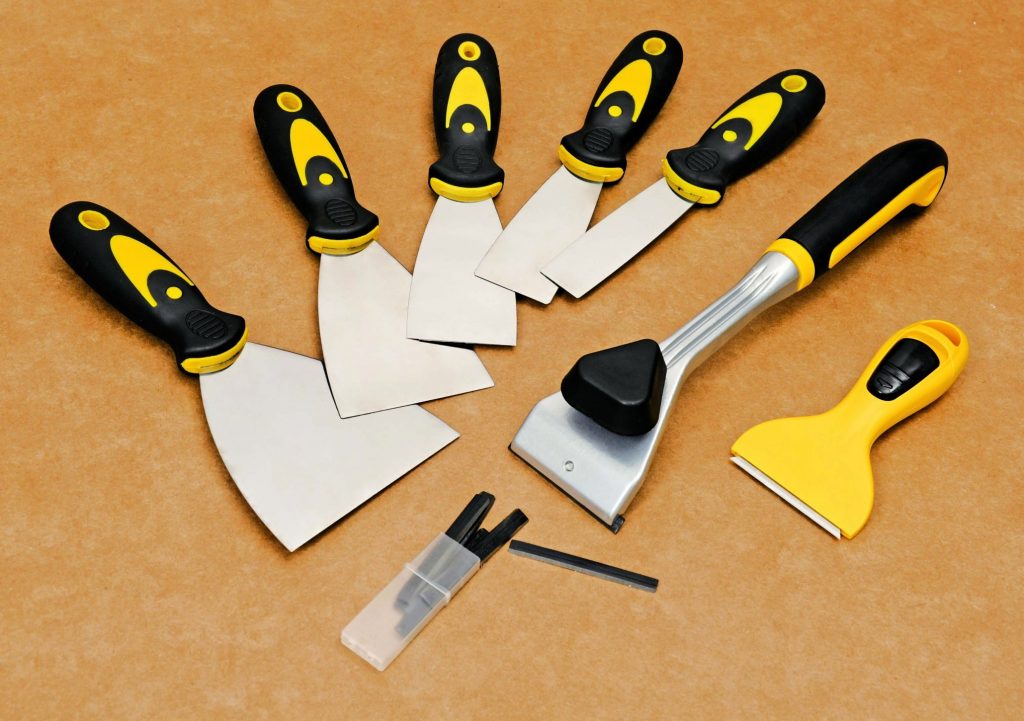
Image Credit: m.made-in-china.com
13. Use fabric drop cloths
A good-quality fabric cloth will help you protect your flooring by soaking in the paint. If you use the cheaper plastic materials, the wet color can get tacked all over the place. It can even seep through small holes and tears in the sheet, ruining your hard work hours.
Read also – How To Choose the Right Fabrics for Interior Design?

Image Credit: pexels.com
14. Make use of lights
Sometimes it’s possible to miss spots without realizing it, especially in rooms with bad lighting. The simplest solution is to use a bright work light and finish each section thoroughly.

Image Credit: pexels.com
15. Remove electric plates
It’s best to remove electric switch plates instead of taping them. You can always scrape it off later and save time and hard work.
Finally, the drying time allocated is an often overlooked and underestimated point in achieving a high-end paint job. Sufficient time between the first coat and the second coat, as well as at the end of a paint job, will ensure the paint dries completely and the walls remain smooth and flawless. Warning the clients to keep away and providing the next steps of design, like moving back the furniture, are not hastened, is crucial.
Read also – 5 Ways that Interior Design Influences Your Mood
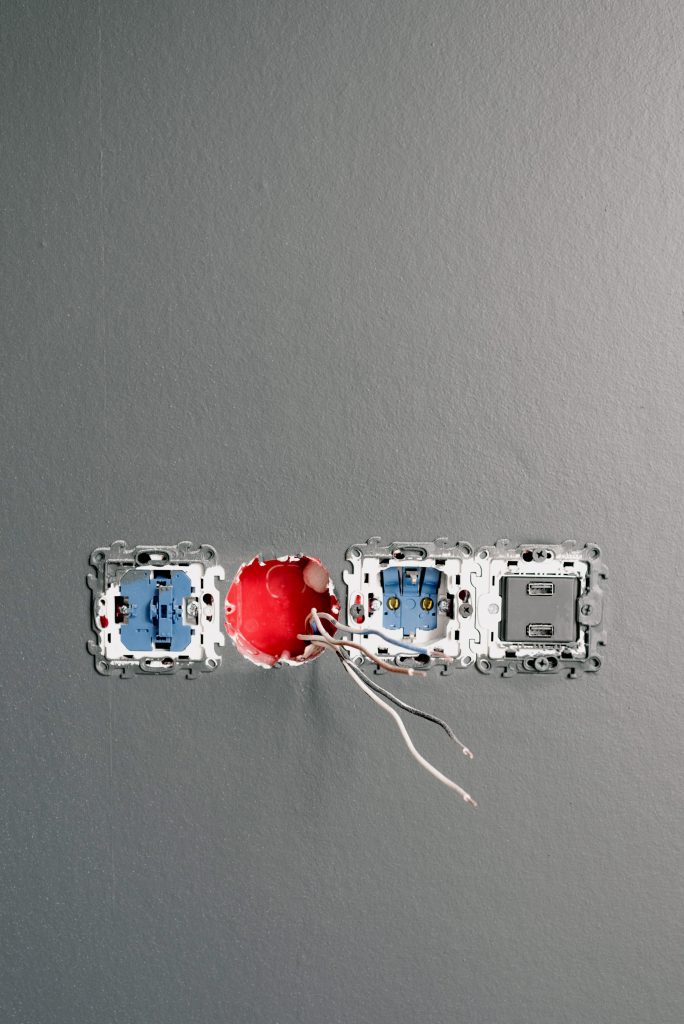
Image Credit: pexels.com
How Much Does It Cost To Paint A Room?
Painting is one of the most economical ways to transform a space. But how cheap is it exactly? The cost varies depending on whether it’s a DIY project or if you are hiring professionals to execute it.
On average, painting an interior wall can cost anywhere between $1.50 and $3.50. The cost will increase to $4 if the project includes finer details like trims, baseboards, crown moldings, and ceilings. The price can also get affected by the room layout, your address, local labor costs, etc. But as a rule of thumb, painting a 500 sq. ft. room should cost around $1250.
Read also – Which Interior Design Jobs Have The Best Pay?
How Long Does It Take To Paint A Room?
There is no correct answer to this question. The reason is that no space is the same. Several internal and external factors affect the timeline of a painting project.
Prepping a room depends on the room dynamics and should be considered additionally to actual painting hours. For an intermediate or amateur painter, painting a bedroom of about 450 square feet would take about 4 to 6 hours. An expert painter would take less than 2 to 3 hours to do the same job.
Read also – 10 Benefits of Hiring an Interior Designer
Conclusion
When a lick of paint proves to be the most efficient, easy and effective way to add character to a room, we are sure you are just itching to grab some brushes and set to work. Nowadays, there is an urge to paint rooms most creatively and excitingly.
However, as a part of the planning process, you may need additional visualization tools to show your clients how a particular paint would affect the room in question. You will need to hire an expensive 3d artist to make a 3d model and render you some images to help you understand what would look best. However, this may be a more expensive procedure than the painting and wouldn’t make sense financially.
This is where Foyr Neo’s powerful rendering software can help you out with virtually no learning curve required. You can add elements and different paint colors to your existing space and see how the room would look even before being executed; what’s more! You can also choose to sign up for a 14-day free trial.