Most architects, designers, and planners treat the site planning phase as something they need to get done with before moving on to their favorite design phase, where they can show their outstanding capabilities. But, the truth is, your expertise as an architect is revealed through the extent of details you cover in the site plan and the conclusions you draw from it and carry forward to your design.
It can be tricky to start, and trickier to navigate the process given there are plenty of moving elements at any given point in time. This blog is the ultimate guide for beginners on-site planning and has everything you need to get started. Get a clear idea of what architectural site analysis and planning are, so you can get a good head start.
Read also – Key Floor Plan Symbols, Architectural Abbreviations to Read Floor Plans Effectively
Important Details Covered in a Site Plan
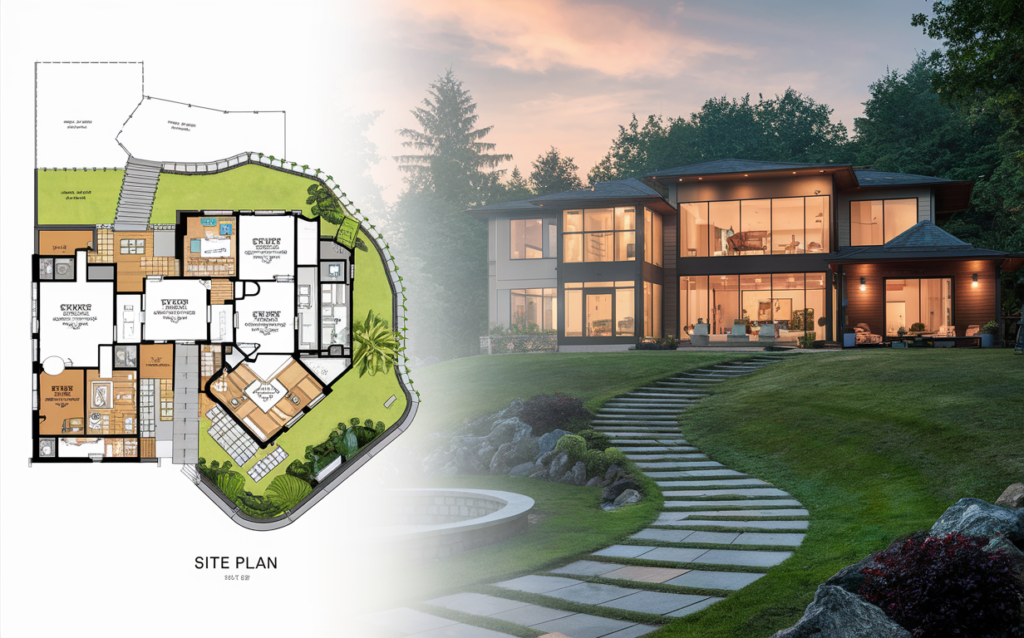
Site planning encompasses several functions, including urban planning, civil engineering, architecture, and landscape architecture. It blends principles from these professions to bring out a holistic sketch that’ll help you solve any design problems you may encounter in the future when conceptualizing the space.
Preparing the sketch is your first step, and you need the following to begin:
| Information | Source |
| Property dimensions and land use | Sourced from survey reports, and by reviewing legal documents |
| Setback standards | Obtained from local zoning offices |
| Road dimensions | Local zoning regulations and building codes |
Make sure you capture all relevant, and important details of the property in your site plan, as it will set the tone for how your building design process will move forward subsequently.
Common Mistakes Architects Make During Site Planning
1. Conducting site planning just for the sake of it

You’re doing yourself a disservice if you treat site planning as a simple requirement, or one of the preliminary tasks on your design checklist you just have to cross for your client. Your client trusts you to do a thorough job for them, and it starts with site planning.
For example, if you’re showing the direction of the wind (that most site plans show), but you’re not taking anything away from the finding, it’s a colossal waste of time, effort, and resources. That’s why you show only what is relevant, and take everything you show in your site plan forward to solve problems in your design phase and give a phenomenal user experience to the residents.
2. Site Plans Aren’t Communicated Well Graphically
You’ve probably seen hundreds of site plans by now, and you know what we mean when say they’re mostly just a bombardment of information that only a few can decipher. Clients can’t read site plans if it’s a mess, and can’t figure out what’s important and what’s not. The architect must get it done.
Here are a few tips to ensure a clean, legible, and readable site plan:
✅ Have a simple color scheme with 2-3 colors maximum
✅ Use these colors in different capacities – different line weights, shading, etc, and create a hierarchy to determine what’s the most important information in the site plan
✅ Drop the opacity of anything that’s unimportant – you don’t need to make them stand out for your client. This one step can save a lot of energy and brain power on the part of your clients
✅ Avoid using blocks of text in the site plan and use headings to organize information
✅ Let your diagrams do the talking, refrain from overusing text
3. Site Planning is Only Done As a Preliminary Task
Site planning done right, but not used for further design stages is a huge missed opportunity, as we highlighted before. It can give you so much information to work with.
Architects don’t have to spend time contemplating solutions to the design problems unique to the space if they just refer back to the site planning phase, and understand the property in its totality – where the wind is coming from, where is the noise pollution coming from, where’s the public transport nearest from etc.
Do it right and you have a mother document to refer to until you hand over the finished architectural project. You’d be surprised at the amount of changes that come in from the client just when their building is about to be finished, it costs a lot of money, and effort to change something major at that stage.
It involves heartbreak for both the architect and the client, as they realize what turned out wasn’t what they expected. Having an architectural site plan, getting your client’s specific approval on all essential elements of the space, and then confidently designing the space for them is the way to go if you want to save heartbreak towards the end of the project.
4. Limiting Your Site Planning to Your Architectural Site Plan
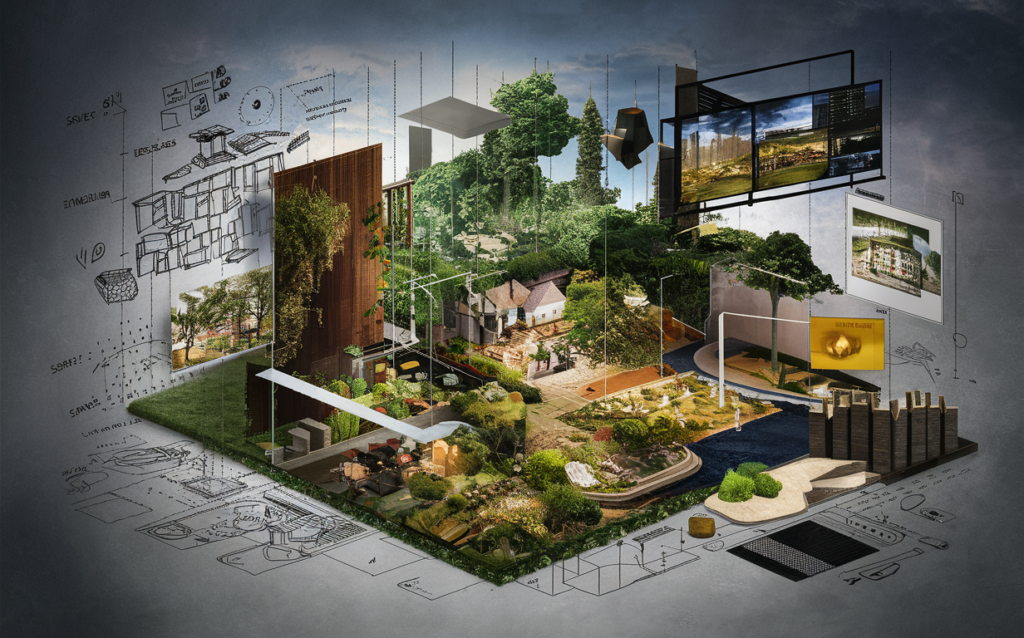
Site planning is like capturing a living being and recreating it with as much graphic detail as possible to make it come alive. That’s the aim of the site planning process – and it’s much more than just a document.
Use interactive and immersive media in the site planning process – use as much as sketches, diagrams, videos, audio, photos, etc.
How to Get Site Planning Right?
1. Find Limitations of the Site
If the sun sets from a particular side and rises from a particular side if the wind movement is a certain way, finding them beforehand will help you work around them and use them to your advantage. Assess the climatic factors of the space, and determine how sunlight, water level, and the landscape and natural vegetation will look like in each season. These inherent limitations can become opportunities when you spot them early on in your site planning process, and help you when you work on the architectural design plans.
Get an idea of:
✅ Main objectives of the space
✅ What adjacent programs are coming up near the space
✅ What’s the wind direction
✅ What can landscaping, sustainability initiatives, and green spaces look like?
✅ Which way to orient the built environment, to affix the north point?
✅ What do the existing structures in the neighborhood look like?
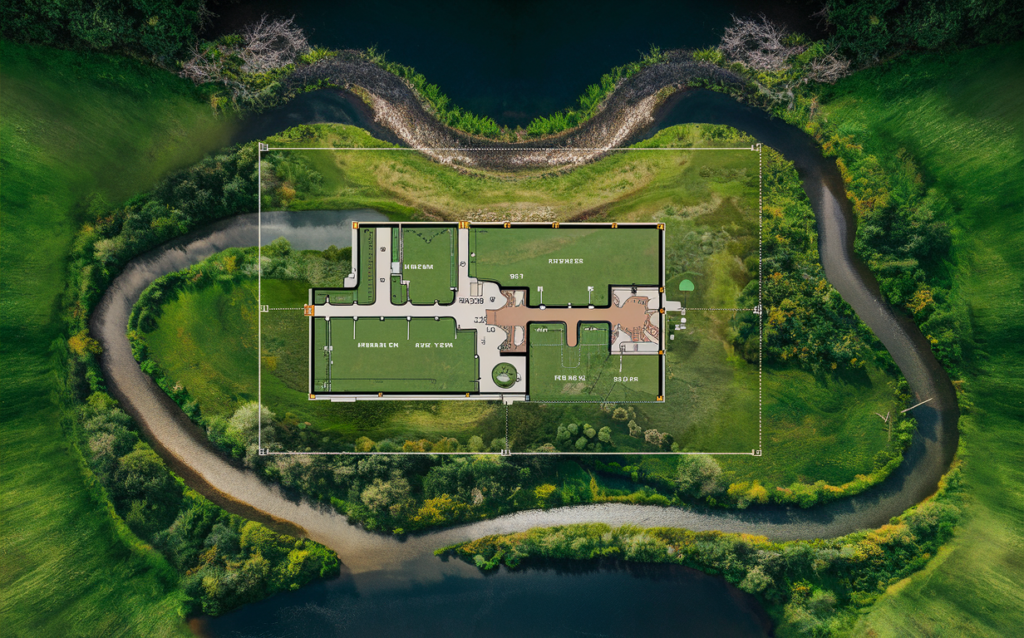
✅ What’s the proximity to a wetland or a water body, and other natural features?
✅ How far or near or nearby properties to the client’s
✅ How wide or narrow is the roadline on site?
Read also – The Definitive Guide To Space Planning In Interior Design
2. Utilize Your Site Visits to Your Advantage
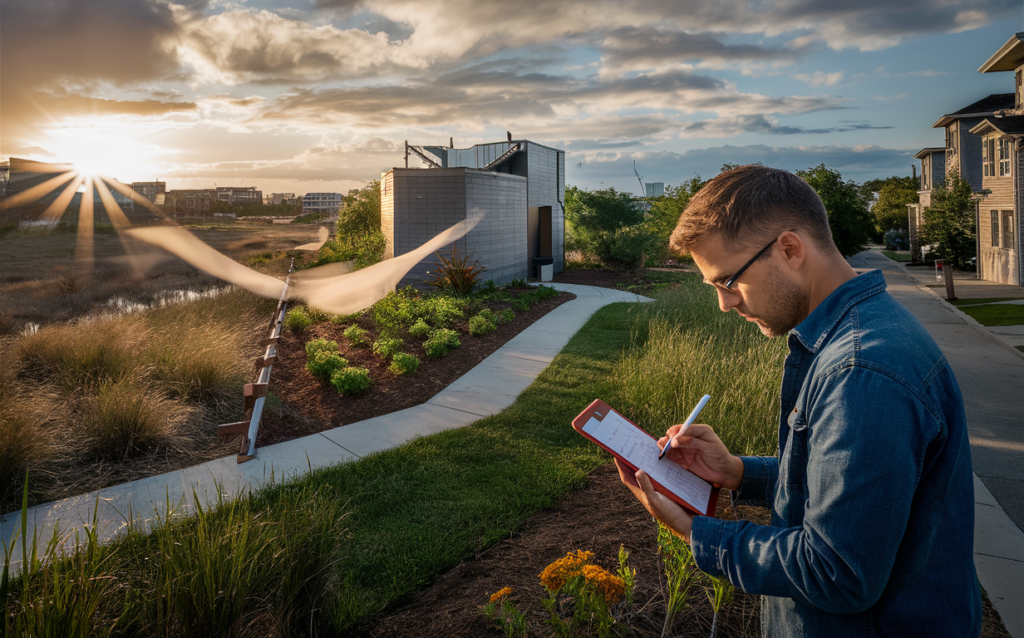
Create a checklist of the things you want to look at before you head down to the property. Ensure you visit a few times during the site planning phase, at different times to ensure you understand what the place looks like and how site conditions change with different lighting and seasonal conditions.
Take lots of photos there, don’t leave anything to chance. See what condition the neighboring houses are in, are there any heritage buildings nearby? Is the place child-friendly? What will the parking look like for the property you’re designing? Conduct a thorough soil test, and assess the soil type, and topographical features of the area to decipher the building materials that will agree with the space.
Look at other homes’ frontages to determine different styles, and characteristics of buildings already there, so they can inform your design decisions. From the site visit, see if you can make a site move (changes to optimize your design), and make limitations influence your design idea.
Read also – 20 Common Interior Design Mistakes To Avoid in 2024
3. Outline the Property Well
Orient your architectural site plan so that the north is upwards, and indicate the scale on your architectural drawing. It’s important to scale right and large enough so that crucial details can be clearly seen. Label all dimensions of the property (preferably in feet), and be sure to label any lake, river to stream without fail. Show if there’s any bluff area, and indicate locations of wetlands in and around the property. Remember, they may not have water present at all times of the year, but they’re important for consideration nevertheless.
Don’t forget the road lines:
✅ Show the distance of the nearest side property line to the driveway where it intersects the road
✅ Check the zoning standards related to the location of your driveway to the side property line. This is important for 911 emergency operations.
Check for sewage disposal systems:
✅ Draw where your sewage disposal system and drainage patterns and figure out if there’s room for future expansion, and make a clear note of both these aspects in the architectural site plan
✅ If your property already has a septic system, draw its exact location
✅ Once you identify septic areas, decipher the setback of the property from septic areas, and nearby water bodies, nearest buildings, property lines, etc.
If your building is on a slope, measure the height at the correct point – from the highest point of the roof to the lowest point where the building meets the ground. Show and label all setbacks from the site boundaries including side yard near, side yard far, road center line, road yard, shoreline distance, etc. Ensure to use the shortest distance to the water even if it’s a diagonal measurement.
An accurate and complete site plan will help authorities review your proposal and better ensure a permit can be issued properly.
Read also – Guide To Prefab Homes: 8 Best Interior Tips for Prefabricated Homes
4. Create a Program Diagram
You’re only given a brief at the beginning of the construction project, to show what the client aspires for, and it lists the actual spaces you need in the site. Your site planning phase helps you figure out how they’re spatially connected to satisfy the brief you received in the first place.
After the site visit you get a rough idea about how to connect different areas in the brief – where to put the kitchen, how to put the bedroom away from noisy areas etc. Diagram the traffic flow using arrows or mind maps.
Then, impose the diagram on the site plan so you know the size of different things and how they connect in real-time. This action helps you draw up the floor plan, decide access points, which areas need visual connection, which areas need to be separated by sound and boundaries etc.
Read also – What is Photogrammetry? How Architects are Using Photogrammetry in Home Designing
5. Find Precedents and Research Thoroughly
Image credits: All images featured in this blog are AI-generated or created using Foyr Neo, an advanced interior designing software.
This means you borrow genius ideas from buildings that have been successfully built and used for a long time and apply them wherever applicable to the design at hand. Take parts of different projects that work well for your project and blend them together.
The best way to go about researching precedents would be to draw them threadbare, inch by inch, and then determine what stands out for you the most, and include the most amazing aspects when you’re in the spatial planning phase in your current project. It helps you get a clear idea of what you like in the aspirational project and decide the extent of feasibility to recreate in your given context.
Read also – Best Online Software Tools to make Floor Plans
How Can You Design Realistic Site Plans With Foyr Neo?
Given that your client’s property, location, and attributes are unique, how do you pick the most important elements and showcase them for your client? You do it out by visualizing the site in all its glory, recreating it digitally, and ruling out elements that don’t fit in.
How can you visualize every space of the site without leaving anything to chance? With an advanced tool like Foyr Neo.
After you visit the site for the first time and get a sneak peek of how it will look, here’s what you can do:
Step 1: Sign up for Foyr Neo’s 14-day trial.
Step 2: Go on to the Neo mood board and curate everything you’d love to have on your site.
Step 3: Create the sketch of your site on Neo.
Step 4: Choose from 60,000+ 3D pre-built materials and simply drag and drop them into the design.
Step 5: Get any indoor or outdoor material in any color scheme, texture, shape, or pattern and truly customize your site.
Step 6: View the makeover in 2D and 3D, from all possible angles and lighting conditions.
Step 7: Render your design in a few minutes and witness your site in all its glory.
That’s all it takes! With 24/7 support and live chat, we’re here to help you if you ever get stuck anywhere. You can find tutorials on how to design on Neo all over the internet, so you’re never truly alone when you design using Neo.
What are you waiting for? Start curating your site plan, and sign up for Foyr Neo’s 14-day free trial today.
FAQs
Site topography dictates considerations for grading, drainage, and foundation design.
Accessibility factors include transportation networks, pedestrian pathways, and proximity to amenities.
Site analysis identifies opportunities and constraints, informing decisions on building placement, circulation, and landscaping.
Strategies include permeable surfaces, rain gardens, and detention basins to mitigate runoff.
Buffer zones, sound-absorbing materials, and building orientation can mitigate noise impacts.


