Wainscoting is a type of wall moulding that’s made from wooden panels and other materials. Like crown molding done on the ceiling to bring a visual depth to the space, wainscoting is a design technique done in the lower part of the walls. It’s yet another way to reflect light and create artistic shadows in your client’s home and needs to be designed carefully to make a massive impact with minimal material.
Wainscoting adds texture and visual interest to the otherwise mundane walls and is a welcome addition to any interior design style. There are tons of materials like shiplap, MDF (medium-density fiberboard), PVC, beadboard, metal, wood, and patterns for you to choose from, depending on your client’s tastes and preferences.
How do you pick the right ones and install them right? That’s exactly what we’ll cover in this blog, so stick with us till the end.
Types of Wainscoting
| Types | Meaning |
| Flat panels | Smooth, flat panels that span low and give a modern home look. |
| Raised panels | Raised, 3-dimensional look, where the bottom rail of a panel and the top rail are placed closely together, to add depth and elegance to the space. |
| Wall panels | Big panels of wainscoting to span the entire wall. |
| Board and batten | Vertical boards (battens) are separated by narrow strips of panels (boards) to create a linear or criss-cross pattern. |
| Beadboard | Narrow, vertical planks with a bead between each board. |
Wainscoting Ideas For the Entire Home
Did you know wainscoting can be used as a negative space in bold-themed rooms to enhance your home decor? Now imagine how you can use it to make every room majestic and look like a million bucks.
| Nick Lewis, an experienced interior designer says, “Choose a profile that works for your design style. For a modern style, choose a simple wainscoting style. For a traditional look, opt for ornate wainscoting. For a timeless look, paint the wainscot the same color as the wall treatment to create a subtle look and give a neutral backdrop. Consider sticking the wallpaper within the molding for a stunning look.” |
Bathroom
For the bathroom, go for patterns that feel calming for your client, whatever design feels refreshing. You can do a simple, neutral-colored beadboard for a subtle, peaceful look. It blends in perfectly with the contemporary style. Beadboard is the easiest material you can lay your hands on, and the most affordable way to add color.
Add shelves on top of wainscoting to create visual texture. For backsplashes in the bathroom, get colors and textures that complement the wainscoting in the bathroom walls.
Read also – What Is an Open-Concept Bathroom and How You Can Design It in 2024
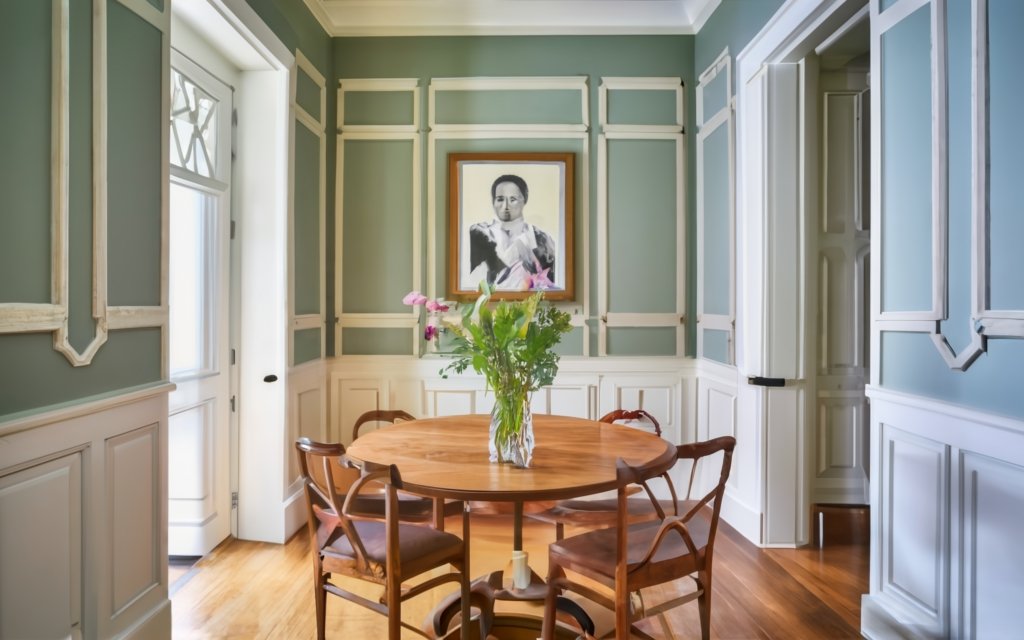
Dining room
If you have a lot of straight lines in the space, such as long windows, exposed ceiling beams, tresses, patterned walls, etc, a great option is to wainscot the ceiling with geometric shapes. You’ll be stunned by the impact they create on the entire room. If the dining room is large and spacious, and you mean to create a cozy, intimate vibe, get flat panel wainscoting done and your client will want to bring their dear ones together often for a heartwarming dinner.
Fancy recreating the dinner ambiance of our ancestors? Bring in a fireplace in the dining room and install a wainscot all around it. Do you have medium-length windows getting in the way of your wainscoting plan? No worries. Wainscoting can match the height of the window.
If you have designed a sophisticated curved dining room, you can still bring in a curved wainscot behind the upholstered dining room bench or chairs in front of the curved space, but it’ll be difficult to install, so talk to the client and the builder before you design it.
Read also – How to Design and Decorate a Dining Room?
Staircase
Have striped wallpapers on your staircase walls? Go bold and place bold-colored rails in your vertical-paneled wainscoting. You can go the other route and match wainscoting to the flooring pattern and material you’ve used on the stairs, and stair runners.
If you have two different themes running parallelly on your ground floor and first floor, the staircase connecting the two can have wainscoting that clearly differentiates the two spaces with complementary or bold patterns. If you have a striking carpet and splendid furniture under the staircase that holds down a domain of their own, go for a modern, geometric, and 2-story look for your staircase wainscoting.
Bedroom
The tall beadboard behind the headboard of the bed is a welcome sight in the master bedroom. If not, wainscot the entire interior wall behind the headboard with a bold contrasting color scheme to create an accent wall or textured wall. Looks marvelous if the rest of the room has a subtle or monochromatic tone. Closely placed wainscoting panels create the illusion of a barn door and are something you can use to separate the walk-in closet from the bedroom.
Simple wall panels on all walls in a traditional-looking bedroom may appear almost invisible in the overall scheme of things but don’t fail to create a significant visual impact.
Read also – 35 Best Bedroom Color Schemes and Ideas for Your Home
Living room
The height of the wainscoting panels is directly linked to the height of the window sill. The higher the paneling, the taller the space looks, which is why raised panels are a huge hit among designers.
Bright, inviting colors in your living room or family room leave you wondering if you should even wainscot. Why worry when you can bring in complementary neutral wainscoting and also convert the space between the panels into shelves, and picture frame holders? Choose curtains that match the panels’ colors, and you’re solid. Want to emphasize that rare wallpaper you got for your client? Bring in wainscoting to 1/3rds of the wall and guests will be drawn to the wallpaper naturally.
Read also – 23 Living Room Divider & Partition Ideas For 2024
Hallway
If you have a long, lean hallway in the space you’re designing, wainscoting is your best friend to instantly make the space look palatial, like a place from the Victorian era. Go for raised panels, or Board and Batten look for wainscoting to steal the spotlight from other home design elements. If you do flat panels or wall panel wainscoting in the hallway, you can hang pictures inside every square and rectangle, and create a photo wall.
| Nick Lewis, an experienced interior designer says, “Painting a contrasting color on the panels emphasizes the molding and makes it pop.” |
Garage
A simple beadboard of a contrasting color is indispensable for your garage walls. On a not-so-bright day, they instantly tell you where your parking space begins. Having a beadboard also means you keep your walls from accidental scratching from the car bumping into the walls.
Read also – Garage Ideas. Two or Three Car Garage Layouts.
Other Wainscoting Tips
- Use vertical and horizontal panels generously if you have enough space.
- Huge wall panels that cover the entire wall reflect light into the room and cast beautiful shadows when placed at the right angles and spots, especially when the room has a lovely chandelier or other principal lighting fixtures.
- Implement your creative wainscoting design ideas as long as it’s appropriate to your design style – mix and match many patterns.
- If you’re not going with any wall art or wallpaper for a room, wainscoting alone can be the main art piece in the room.
- Corners, curved, and half walls are difficult to install wainscoting in. So, talk to your homeowner and builder before you experiment with them.
How to Install Wainscoting at Home?
Once you’ve designed the walls of the space and have come up with gorgeous wainscoting ideas to decorate the walls, it’s time to put your ideas into action.
Step 1: Figure out the Angles and Dimensions of the Panels
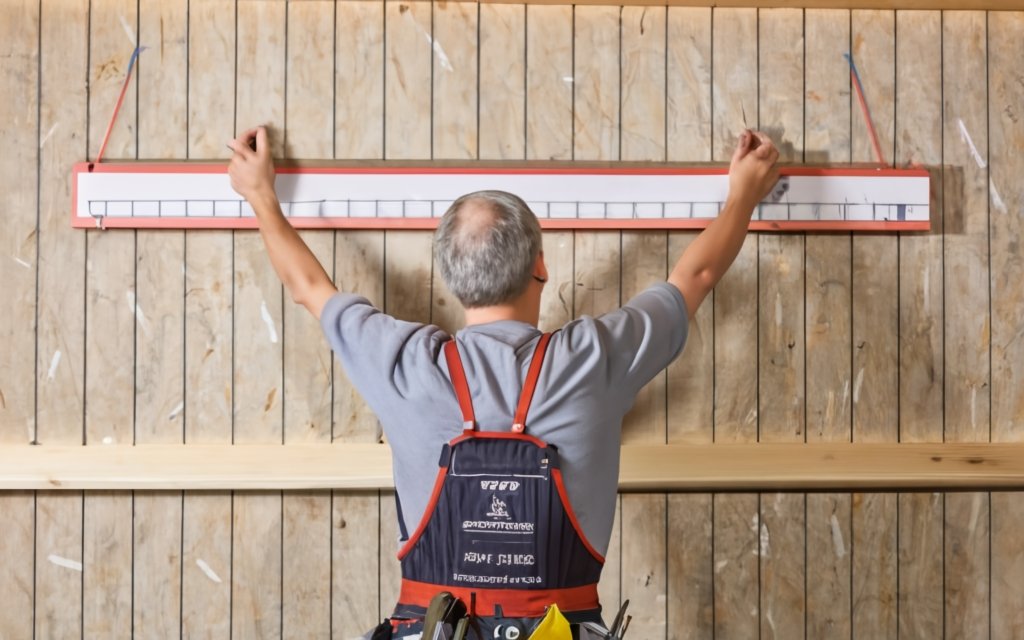
You need a spacer block and an angle finder, and you’re all set. Take your spacer block, keep it under the main ledge line, and draw the line. Use the following formula to measure the dimensions of the wainscoting panels.
|
Wainscoting Size = (Total length of the wall – total spacing in between) Number of panels |
Ideally, in a decently spaced room, you will need at least 4 inches of space between two panels. If you’re going in for a box-shaped panel, the top and bottom pieces will have the same dimensions and angles, and you can interchange them.
Measure the angles at the intersections using the angle finder. This step is especially crucial if you’re instructing your client who wants to take up wainscoting as a DIY project on stairs and you have to deal with transitional spaces curves, turns, and steep angles.
Read also – How to Choose the Right Marble to Design Marble Countertops?
Step 2: Draw Chalk Lines and Determine How the Panels Will Look Like
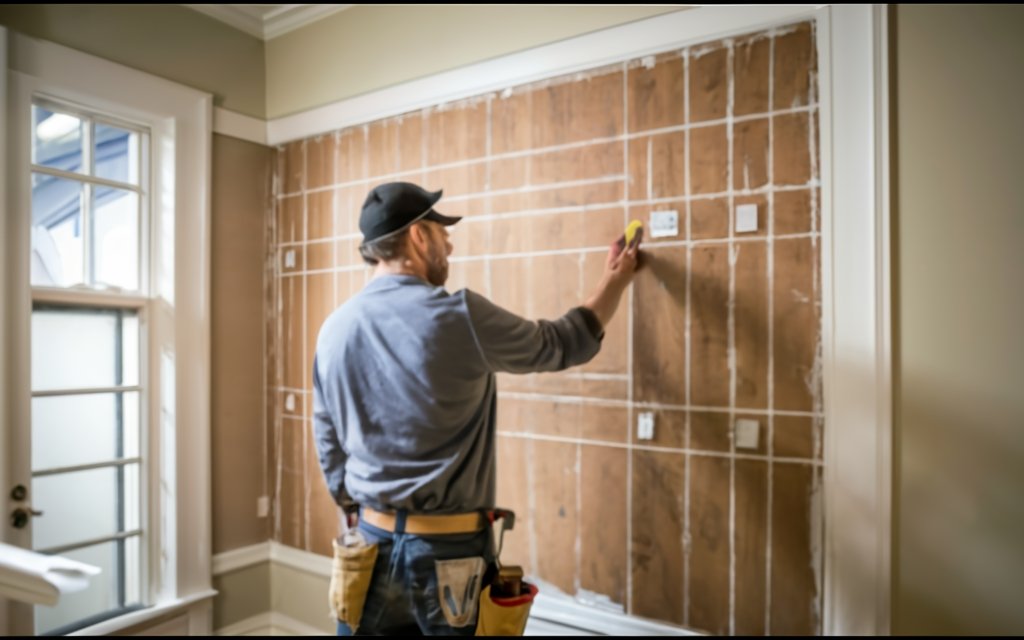
To show your client what you intend to do and how it’ll turn out, you can go one of two ways. Pull chalk lines and show them how the panels will be spaced and the design will pan out. If you’re doing only the wainscoting as part of a remodel and the client is specific about not staining the walls, stick tapes where you want the panels to be installed and show them.
Step 3: Cut Moldings to Their Respective Sizes
Although you measure twice and cut once, it’s always a good idea to cut a bit extra when you cut moldings before installing them. Don’t forget to make space for power outlets and plugs on the wall, and leave appropriate space for them in the moldings and panels you cut.
Read also – How can interior designers choose the best virtual design studio?
Step 4: Remove or Keep the Baseboards Depending on Your Wainscoting Design
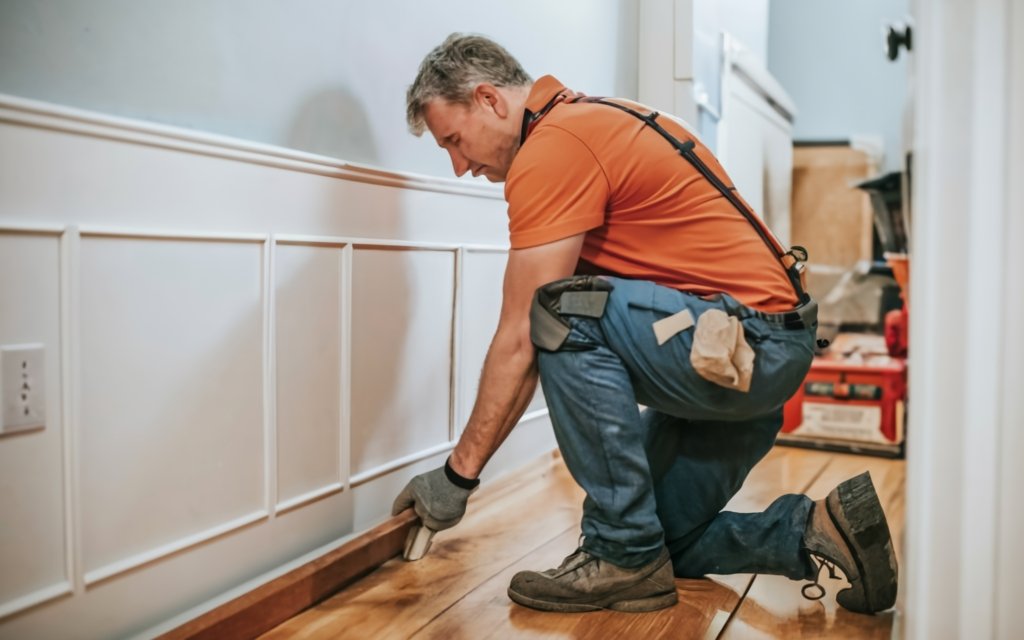
If the pattern you chose runs from floor to ceiling, you may want to remove your baseboards. Make sure to do that before you measure the angles of the panels, to get the right number.
Step 5: Apply Adhesives to the Panels and Stick it on the Wall Directly
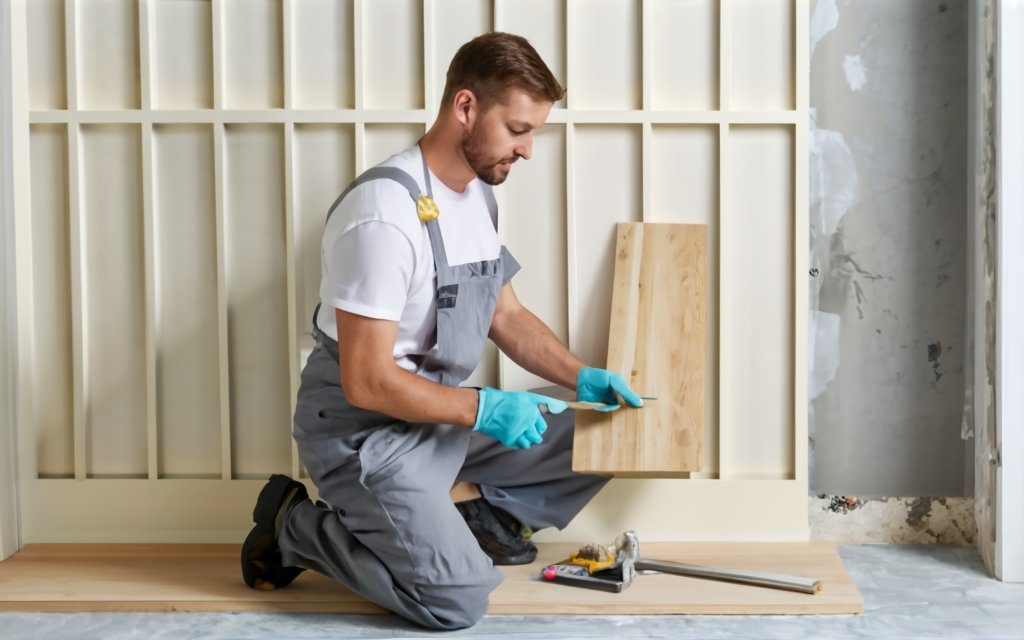
Now that your baseboards are off your course, and you have a clean wall to stick the panels on, you can go one of two ways.
- Put your stiles and rails on first and then fill in MDF between the panels. This is done in recessed wainscoting, but if you do it, you lose the depth you wanted in the first place.
- Stick a whole sheet of MDF on the wall first and then build paneling and chair rails on top of it. This is the best way to keep the witness to the true visual depth of wainscoting on the wall.
Go ahead and apply adhesive generously on the MDF panel and even it out. If you miss this crucial step, you’ll notice that the panel is uneven to push and level afterward.
Read also – How to Create the Best Architect Portfolio in 2024
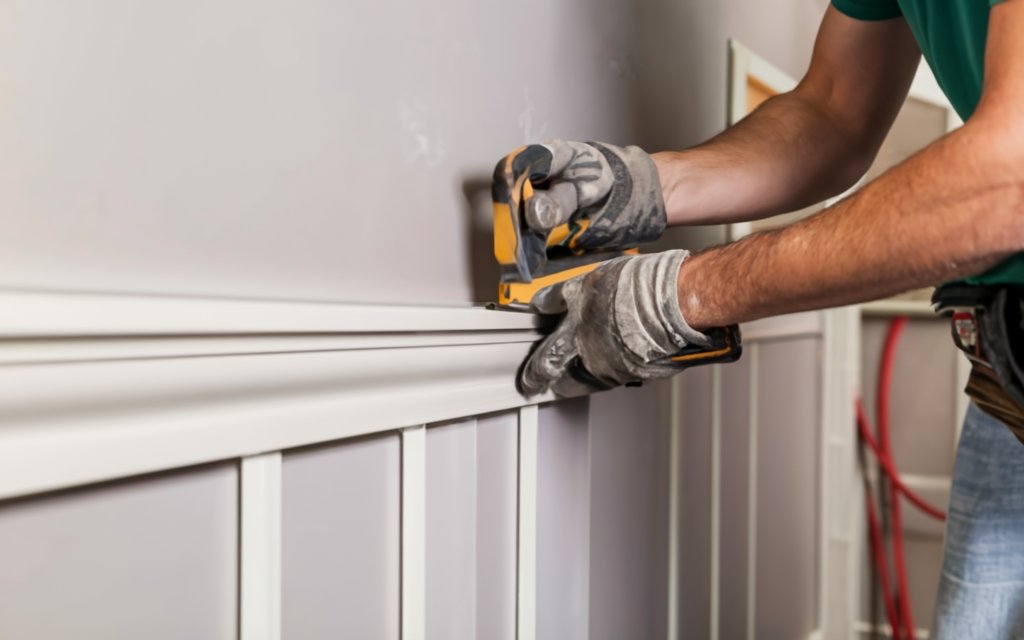
Step 6: Nail the Chair Rail to the Wall, Along with the Bottom Rail and Top Rail
After the MDF panels are in place, drill pocket holes in the top and bottom rails so that you can join all pieces together and screw them perfectly, so they fit together like a jigsaw puzzle. There’s a reason for this. None of the walls are perfectly flat in any house.
If you install the rails directly, the bumps in the walls might come in between and keep your rails wobbly. That’s why you drill holes in them and connect them together with screws. You can also smear adhesive on the bottom and top rails to be doubly sure.
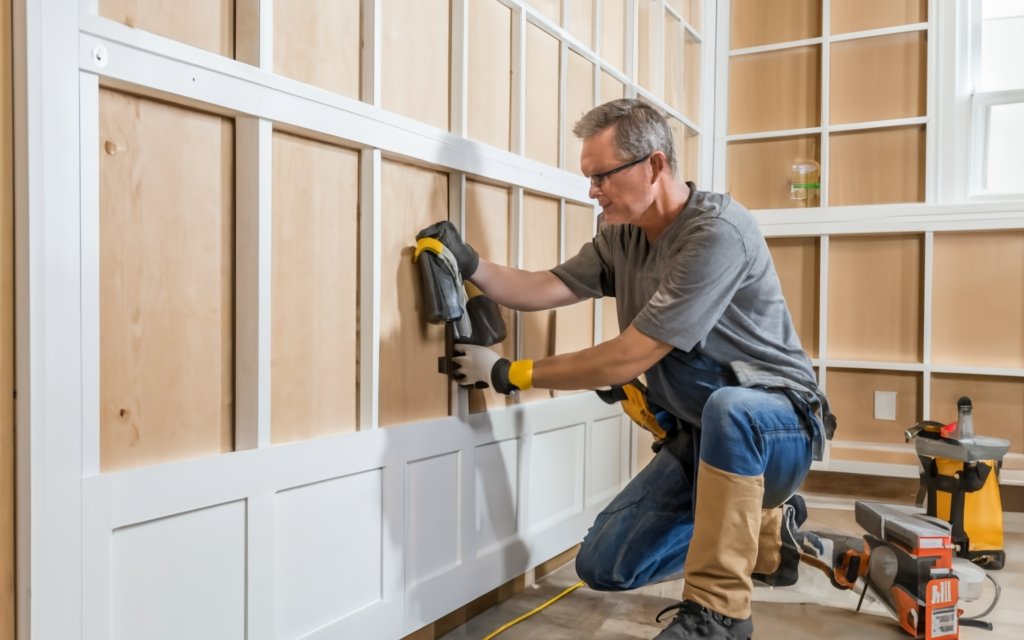
Step 7: Level the Panels with a Sander and Carry Out the Finishing Touches
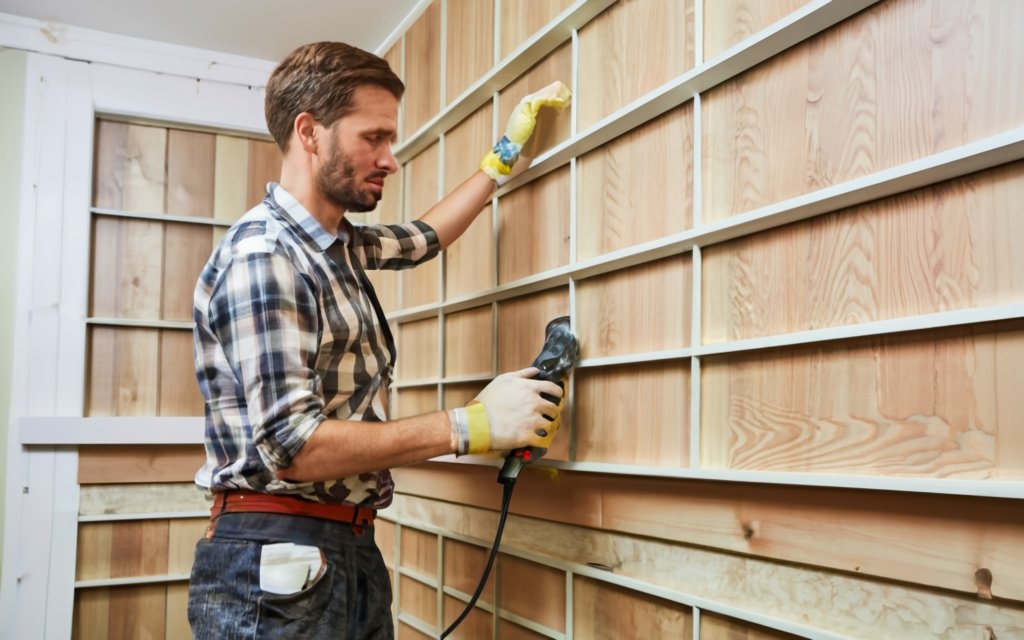
Knock off any differences in leveling with a sander, and get a seamless look. Nail the bottom and top rails tightly, and the panels one by one. This also comes in handy when you’re planning to paint the space. If any nails or screws stand out, you may want to use a hammer and drive the nails in.
Stick a tape on the wall leaving a little gap, and draw a bead of caulk down the seam. Wipe the line of caulk with a wet finger and then after the caulk dries, peel off the tape. You’ll see all holes, gaps and uneven surfaces will have been filled to make the entire wainscot and surrounding boards and walls look seamless.
Read also – 9 Best 3D Floor Plan Software and Tools in 2024 [Free + Paid]
Step 8: Prime the Panels and Decorate Them
Make the wainscoting panels captivating by priming them with bare paint and after it dries, start painting the squares and rectangles the panels make in bold, contrasting color palettes. You can also stick wallpapers inside the spaces, or make space for open shelving. Your decor ideas for the wainscot panels depend on the architectural details you have planned for the space.
How Do You Install Wainscoting in Tough Spots Like Stairs and Corners?
Tough spots like the stairs and corners have steep angles and narrow edges and measuring them carefully is vital.
Stairs
All the steps are common as mentioned in the step-by-step tutorial above, but there are a few special aspects to consider. Measure and join the angles where the landings, riser, and treads meet and interact with the wall. Place the rails at right angles, especially the vertical pieces, you need to take every angle into account so they sit in well with rails and baseboards.
Corners
After you’ve installed wainscot and you’re just about to finish. Take a thin strip of MDF and cut it at 46 degrees only leaving 3/16ths left. Place the strip where the panel ends and the wall takes a curve. Nail the strip. If there’s still a gap, use a doorstop on top of it, to align with the chair rail, and there you go! You have a smooth finish!
Decide Which Wainscoting Design Suits Your Design Project with Foyr Neo
Choose from an ocean of designs: Plenty of varieties of rails to choose from. Search for the most elegant designs and patterns of wainscot from 60,000+ 3D materials in our library. Customize your rails to any color, texture, shape, pattern, or form.
Place or remove baseboards automatically: Depending on the wainscot design you’re going for, Foyr Neo removes or adds baseboards automatically, so you can save time.
Punch holes for plug holes with AI: If you have electrical outlets in the wall and want to make space for them when you design the wainscot, you don’t have to spend time and effort making the perfect holes for them. Based on the design, the tool punches holes for plug points by itself. It’s customizable, so if you want to drill the hole elsewhere, you can do it easily.
Adjust lighting and view from 360 degrees: View how the panels will look under different lighting setups and from all possible angles. This will help you design wainscoting panels that work well under all lighting conditions, natural and artificial light, and cast gorgeous shadows.
Take super-quick renders: When your design is all set and your wainscoting design looks immaculate, take a quick preview, and generate photorealistic renders in a few minutes, in HD and 4K quality. Generate 4K walkthrough videos of your design in seconds and impress your homeowners with your forethought.
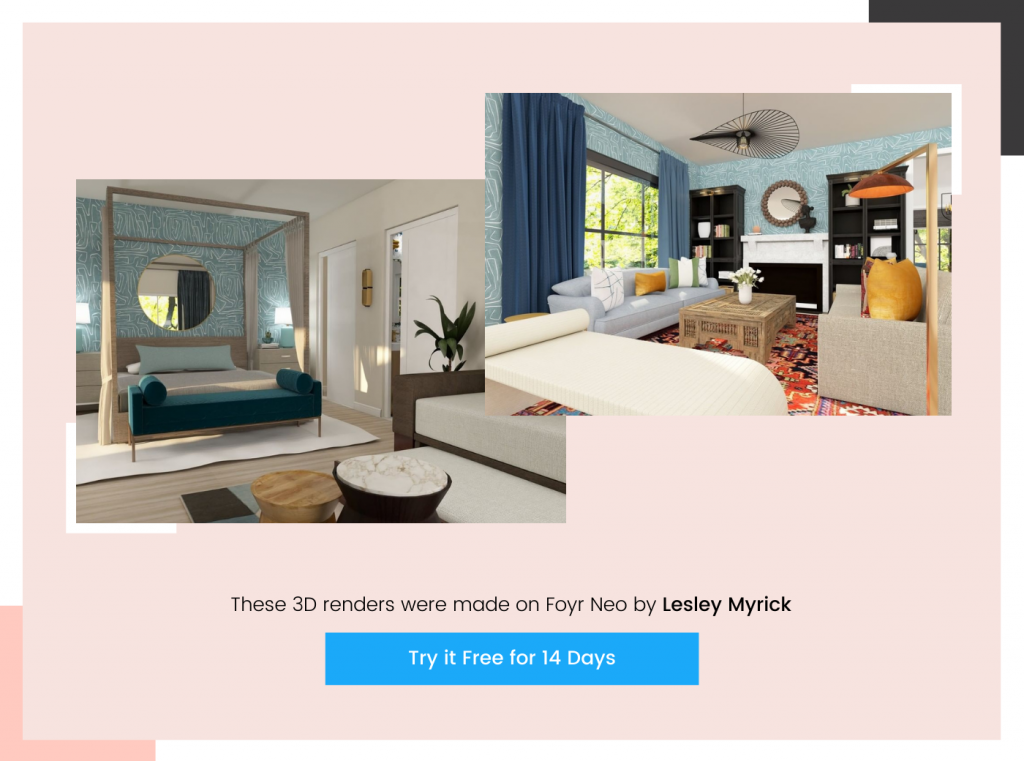
All this is possible with Foyr Neo. Sign up for Foyr Neo’s 14-day free trial now.
FAQs
Yes, wainscoting can be strategically designed to conceal or enhance architectural features, providing both functionality and aesthetics.
DIY installation is possible, especially for simpler styles, but complex designs or intricate moldings may benefit from professional installation.
Use moisture-resistant materials like PVC or tile for bathroom wainscoting, creating a stylish and practical design element.
Yes, strategically placed wainscoting can define distinct zones within an open floor plan, providing a sense of structure and visual separation.
Opt for lower wainscoting heights, lighter colors, and simple panel designs to enhance the space without creating visual clutter.