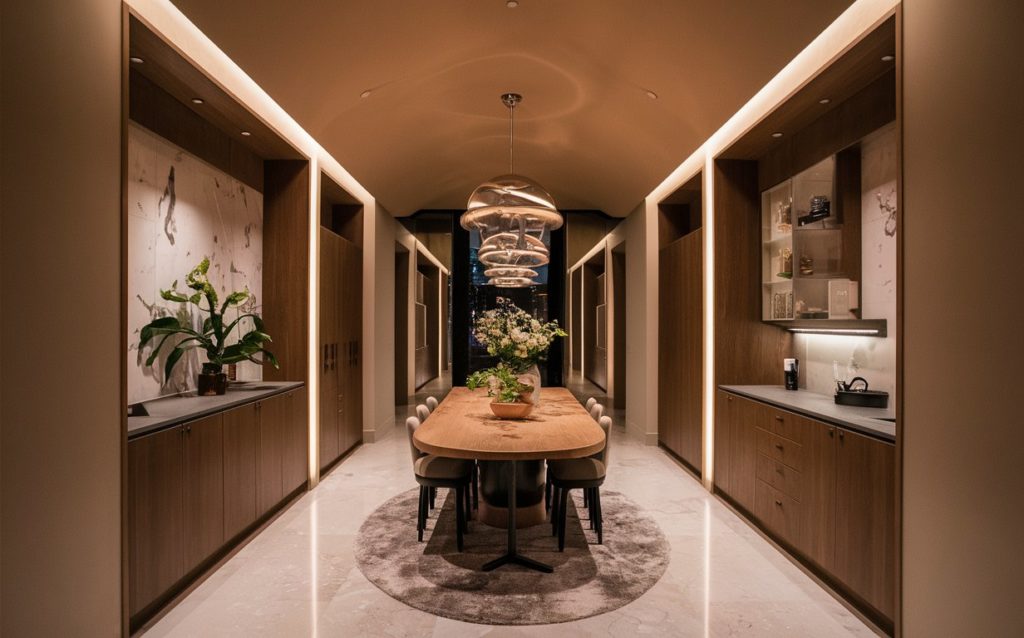
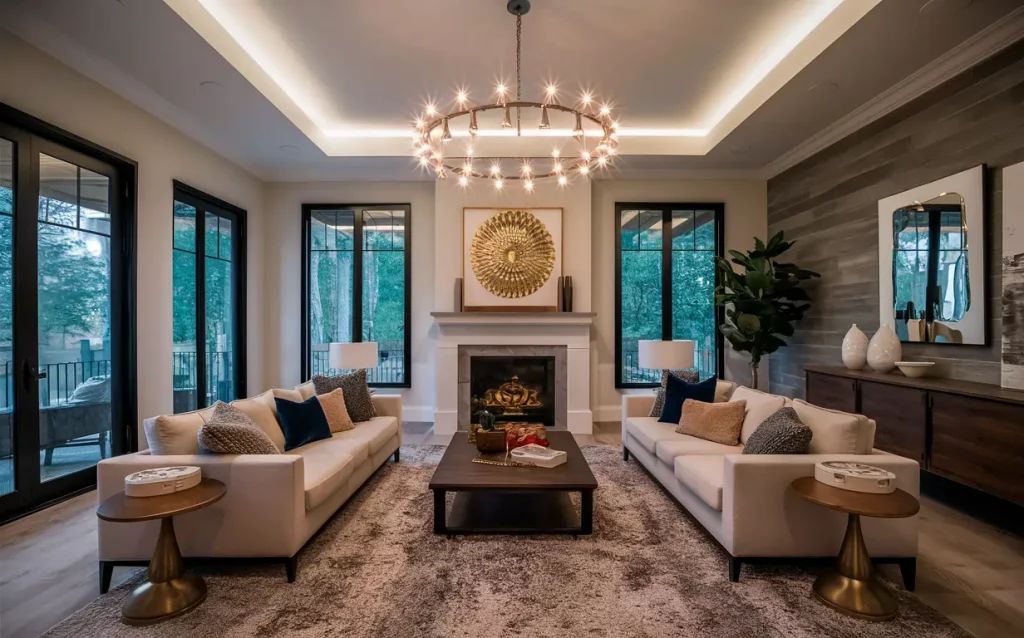
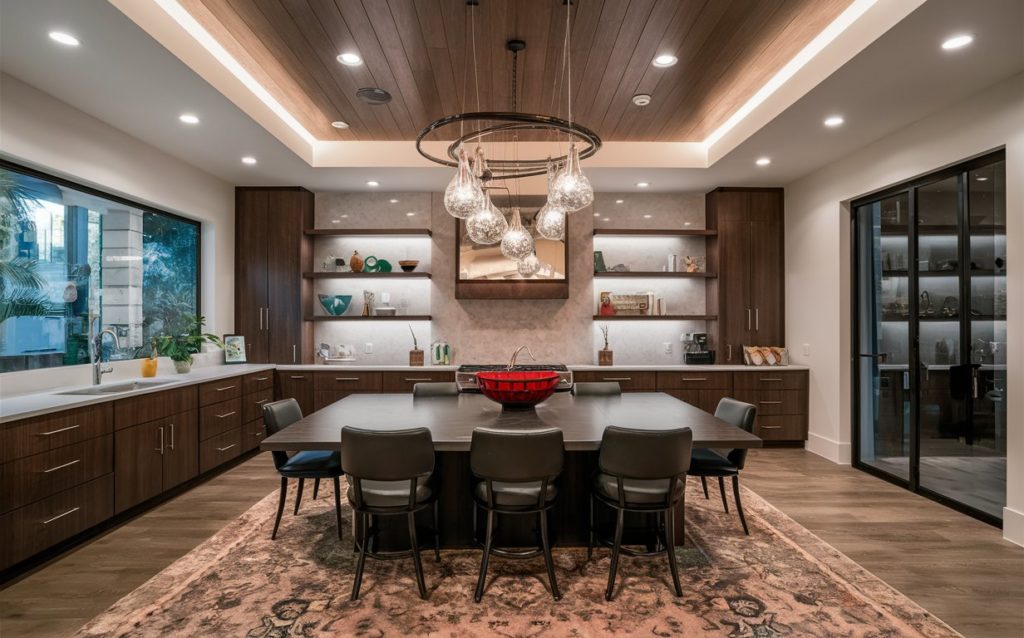
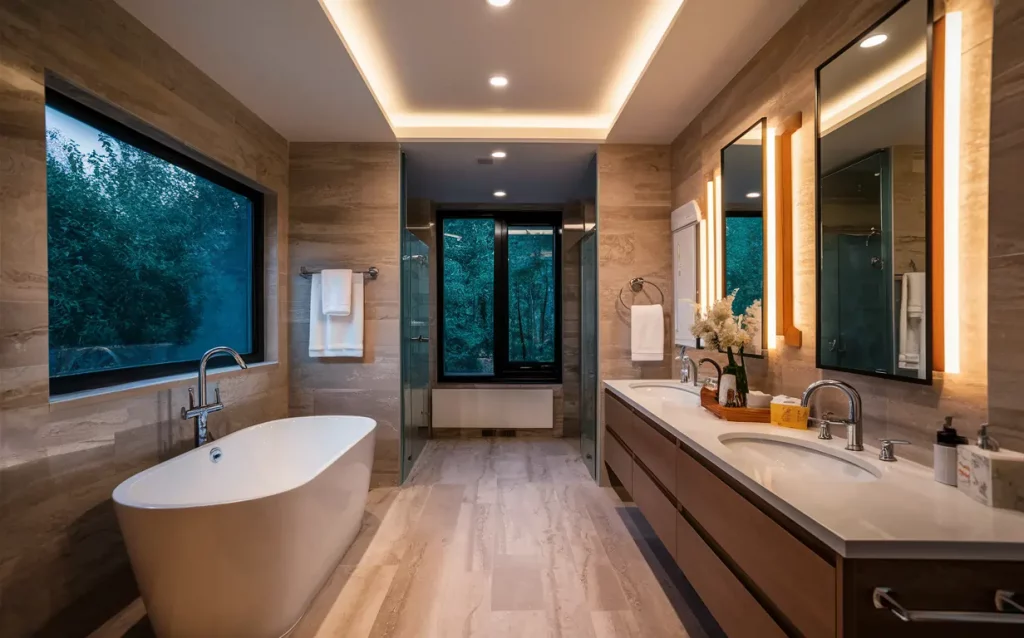
Cove lights are a lovely, and pleasing addition to any space. They instantly take a home from just another place to a cozy haven in a few seconds, just as their relaxing effect kicks in. With the right light and diffuser in place, the luxurious impact you can create is unparalleled. If you want to give that ‘wow’ factor to your client’s home, cove lighting is a no-brainer.
This blog will tell you how to buy lights that can serve as cove lighting and the specifics you need to know to design it right.
Benefits of Cove Lighting
| Jackson Casimiro, Lighting Specialist says, “There’s a reason why indirect lighting, like cove lighting, looks so good in interior design. By bouncing light off of a surface, the light is diffused and makes it appear softer and more pleasing.” |
✅It gives a really premium, warm, and soft look to the space it is in
✅Cove lighting spreads a harsh light over a much larger surface area and makes the light softer
✅ Hides the bulb out of view and gives a seamless design aesthetic
✅ Gives your furniture and decor a nice silhouette
✅ Creates a smooth roll-off from the highlights into the shadows
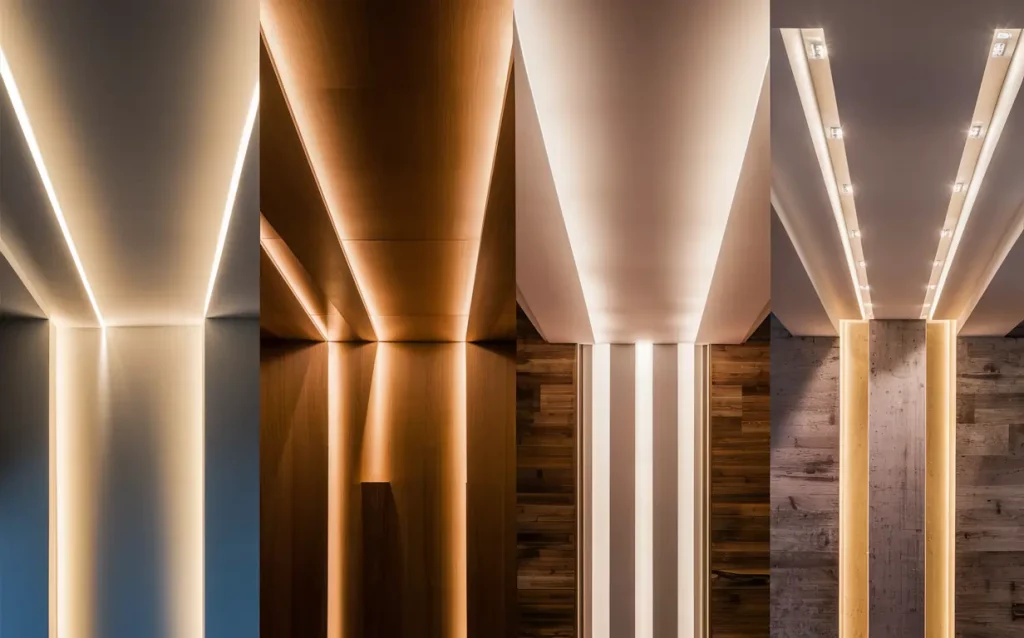
Principles of Designing Cove Lighting
Light Dispersion
The softness of the light can depend on the surface area of the light you’re seeing. Light dispersion is determined by the distance between the light and the ceiling. The more the space between the light and the ceiling, the farther the light spreads. Less the space between them, the more intense, and focused the light becomes.
Read also – What is a Tray Ceiling and How to Install it at Home?
Shadows
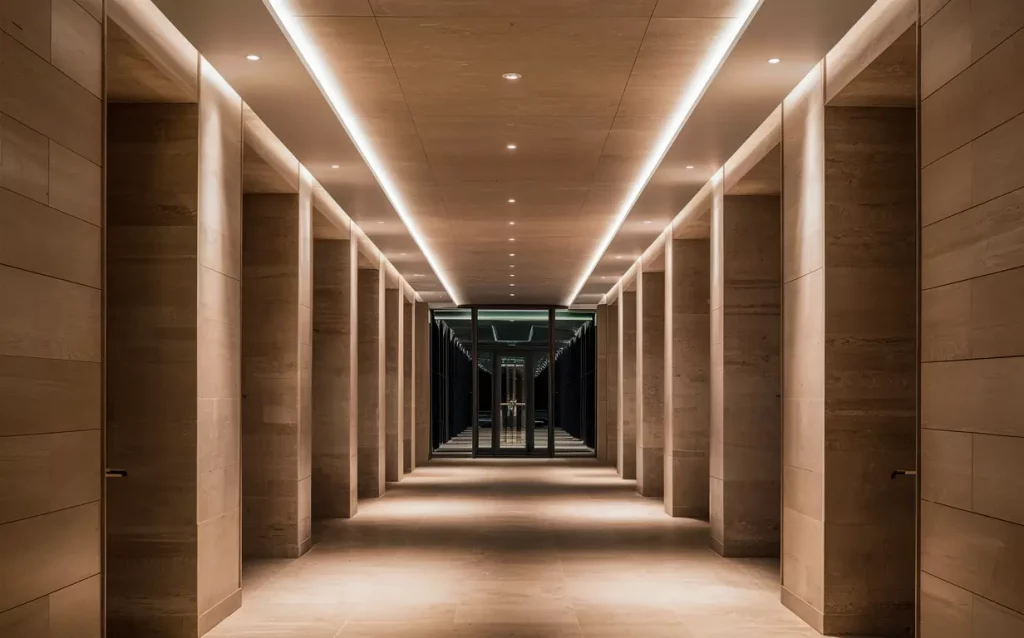
The principle of shadows plays a crucial role in enhancing the effectiveness of cove lighting. By strategically placing light fixtures in recessed cavities or ledges along architectural features such as walls or ceilings, shadows are cast in a controlled manner. These shadows add depth and dimension to the illuminated area, creating a visually appealing interplay between light and dark.
Line of Sight
This principle involves keeping the cove light hidden from view. You have to consider the surroundings of the cove lighting and determine how it’ll be seen from different angles and views. For example, if the cove lighting is near a long hallway, a mezzanine floor or staircase, or a reflective surface, you have to consider how the light will bounce off the surfaces and appear to the onlooker. If the light source is visible from certain angles, you have the option of using dotless LEDs rather than standard intensity lights to create a more appealing finish.
Read also – How Can You Mitigate Electrical Hazards as an Interior Designer?
Top Tips For Buying Cove Lights
1. Packaged Lights – Best Buy Or Not?
Packaged lights may be difficult to customize based on your needs, be it their location or usage. If you’re looking at a long-term investment without regrets, show your clients the benefits of investing in quality lights LED lights for cove lighting and go for them. Alternatively, you can also build your kit using LED light strips, a control panel, and a power panel. However, going for a pre-built kit will save you time and effort.
2. Determine the Purpose of Your Cove Light (LED)
Where do you want to create a pleasing, soft ambiance? Under the cabinets, in your living room ceiling, behind your bedroom headboard, etc. Determine if you want all the lights in the LED strip to be the same color, or do you want to be able to switch them up, section-wise? Depending on where you want to install these cove lights, and the mood you intend to create with them, you make the entire choice of color, type, and features of the cove lights.
Read also – 20 Best Interior Design Tips To Decorate Your Home
3. Which Type of White Light Should You Get?
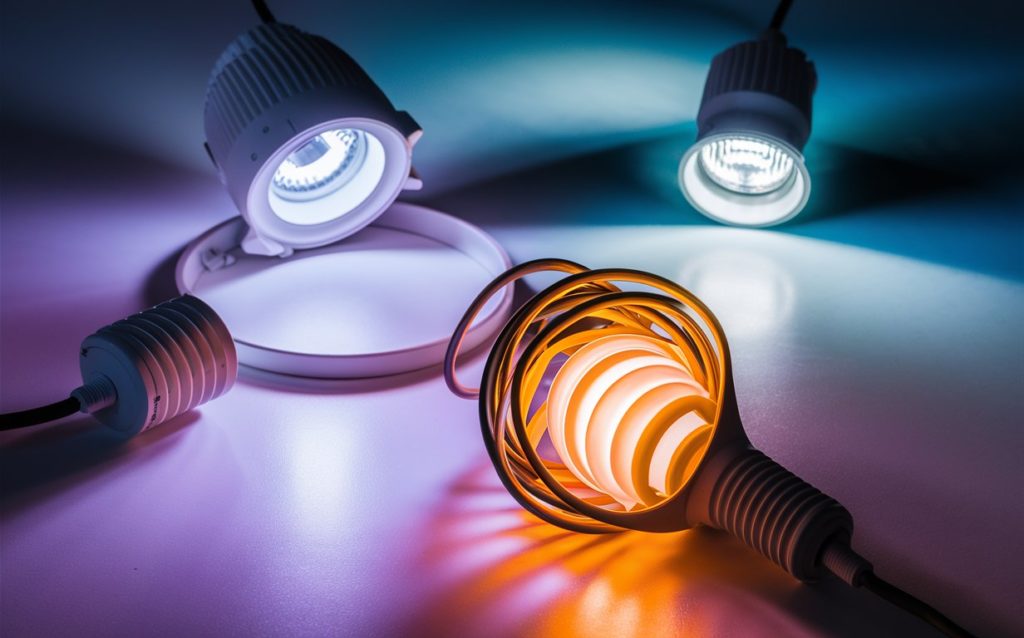
All white lights available in the market aren’t the same. There are dedicated pure white LED lights which come at 4000K and give a nice pure white look. If you want a slightly clinical touch to the lights, you can choose a white light with a blue undertone. Another option you can look at is an LED light with mixed colors, which when activated to its full capacity turns white. Each shade of white can have a different impact on your wall color and the overall perception of your home.
4. How Many LEDs to Buy For the Space?
You need an exact measurement of the space you want to illuminate, to figure out how many LEDs per meter would look right in the space.
| No. of LEDs/meter | Distance between each LED light |
| 30 LEDs/meter | 1.25 inches |
| 60 LEDs/meter | 0.75 inches |
| 144 LEDs/meter | 0.25 inches |
The more LEDs you have in a small space, the brighter it will be, and the less obvious it’ll look like cove lighting. It’ll have the look of any other static light source, and the more expensive it’s going to be.
60 LEDs per meter is recommended since you have a tightly packed light, that comes at an affordable price. It’s suitable to create ambient lighting that sets a relaxing mood.
5. Should the Lights Be Water Resistant?
If you’re planning to bring in lighting in your bathroom, you need it to be water-resistant, or at least waterproof, so you don’t run any risks of an electric shock. Check for the following specifications when you’re browsing through LED light options for cove lighting.
|
Specification |
Meaning |
| IP 30 | No water resistance |
| IP 65 | Water-resistant, with silicon coating on top. Can be used for kitchens, bathrooms, and outdoors. |
| IP 67 | Completely waterproof. However, refrain from using it underwater in swimming pools. |
6. Decide What Voltage You Need
Typically, designers like you choose 5, 12, or 24-volt options. The more volts you have, the more LEDs you have, and have them running at full voltage. Going for low-voltage strips has a hidden advantage – they’re easy to power and recharge with USB. When you go past 100 LEDs on 5 Volts, the color of the lights may start degrading, and this applies especially to whites.
7. Choose Your Power Source
| Jackson Casimiro, Lighting Specialist says, “In many places you want to install lighting, you may not have a convenient power outlet for you to plug the lights in. In the US, we have 120-volt AC coming out of wall sockets. LED light strands used for cove lights are 12 volt DC which is why you need a mediating source to convert 120 V AC to 12 V DC.” |
While designing a house, you may bring in all ravishing decor items and lighting fixtures to illuminate the house. As the common adage goes a designer’s dream is an engineer’s nightmare’, often when you’re focused on making the space beautiful, it’s natural to overlook how practical it will be. As a responsible designer, take your time to make sure all electrical fixtures have proper outlets near them, and you don’t have to use too many extension cords to power them.
In case assigning a power source to cove light is particularly difficult, you can use an extension cord. However, since there are a lot of electrical hazards that can come up when extension cords are used for a long time, you can also consider removing them and increasing the wiring after the power supply to ensure your power comes straight from the source, or mediating source, and not interrupted by anything.
There are several colored wiring options these days so you can use them without having to worry about leaving a shabby look, or a cluster of different colored wires.
8. What Are Your Control Options?
There are three options to control a cove light.
✅Inline controllers that you can operate with a remote to change colors
✅Wired controllers that you can operate with an application on your phone
✅Micro controllers that you can operate with sounds, motion, and vibration, that are connected to sensors
9. Where Do You Cut and Connect the Lights?
Take care to cut the wires where the copper is exposed, so you can solder and connect the remaining pieces seamlessly.
|
LED strips |
Where to cut them? |
| 5V LED strips | After each piece |
| 12V LED strips | After the 3rd piece |
| 24V LED strips | After the 6th or 8th piece |
How Do You Design the Right Cove Lights Using Foyr Neo?
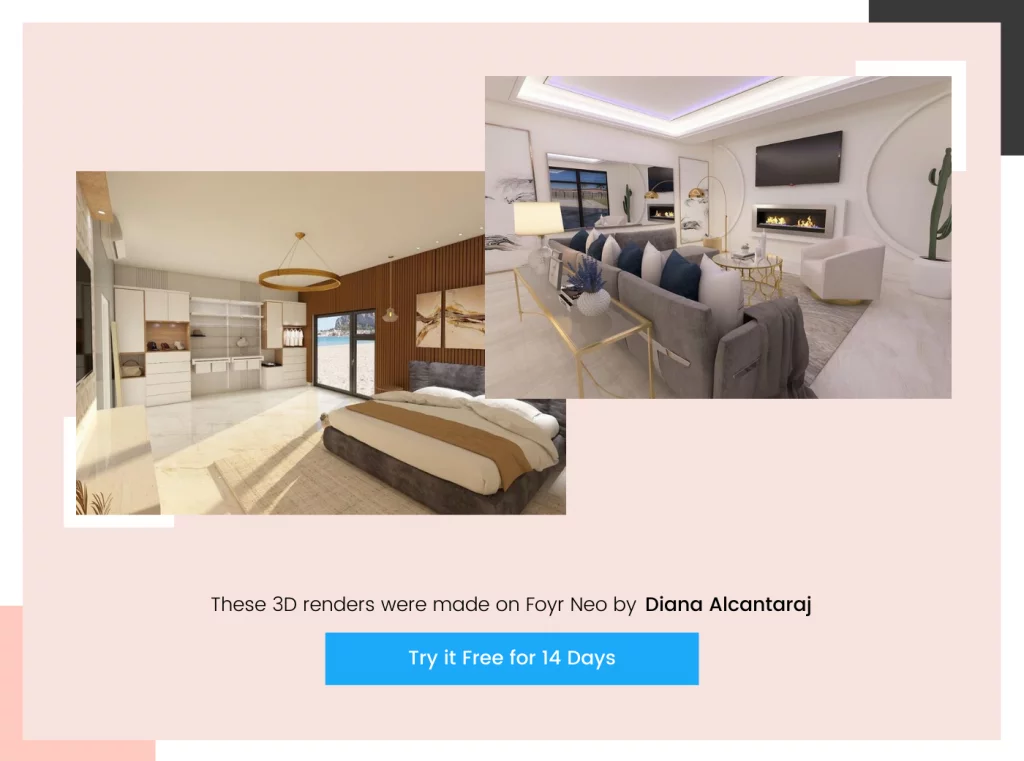
Given that your home’s floor plan is unique, how do you know which cove light design will work in your space and which won’t? You figure it out by visualizing your home with your favorite cove lights and ruling out the ones that don’t fit in.
How can you visualize every space of the room without leaving anything to chance? With an advanced tool like Foyr Neo.
Here’s what you can do:
Step 1: Sign up for Foyr Neo’s 14-day trial.
Step 2: Go on to the Neo mood board and curate everything you’d love to have in your home
Step 3: Create the floor plan of your home on Foyr Neo.
Step 4: Choose from 60,000+ 3D decor materials and simply drag and drop them into the interior design.
Step 5: Get any material in any color scheme, texture, shape, or pattern, experiment with different cove lights in various positions, compare their light diffusion, shadows, and angles and truly customize your room.
Step 6: View the makeover in 2D and 3D, from all possible angles and lighting conditions.
Step 7: Render your design in a few minutes and witness your home in all its glory.
That’s all it takes! With 24/7 support and live chat, we’re here to help you if you ever get stuck anywhere. You can find tutorials on how to design on Neo all over the internet, so you’re never truly alone when you design using Neo.
What are you waiting for? Start curating your mood board for your home, sign up for Foyr Neo’s 14-day free trial today.