Learn » Architecture Concepts » 3D Design, Modeling & Rendering »
Introduction
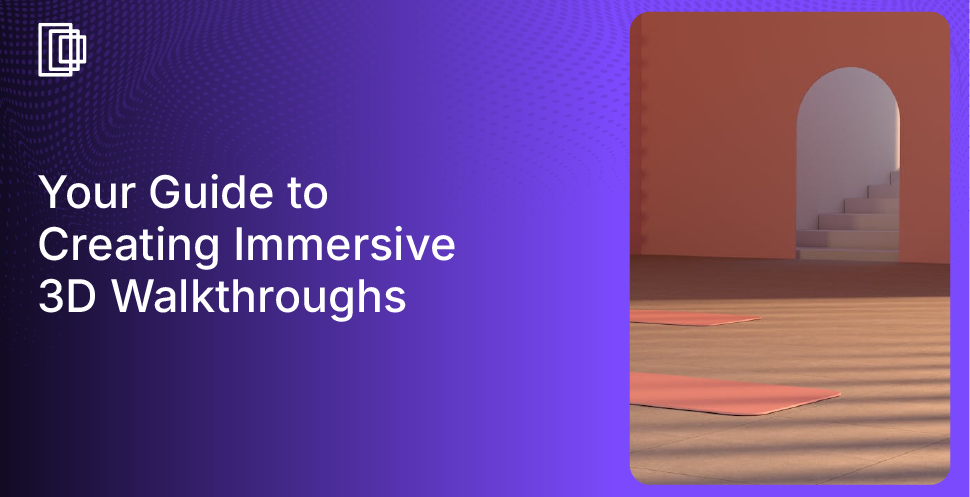
Hello, interior designers, real estate professionals, and enthusiasts! Have you ever wished you could walk through a space before it’s even built or renovated? With a high-quality 3D walkthrough, you can do just that. These virtual tours allow you to experience a property in a realistic, interactive way, providing invaluable insights and a competitive edge in today’s market.
In this comprehensive guide, we’ll walk you through the step-by-step process of creating a 3D walkthrough of your home or property. Whether you’re an interior designer looking to showcase your designs, a real estate agent aiming to impress clients, or a homeowner planning a renovation, this guide is for you.

What Is a 3D Walkthrough?
Many individuals often pose a question ‘What is 3D walkthrough’? Let’s answer it first before proceeding.
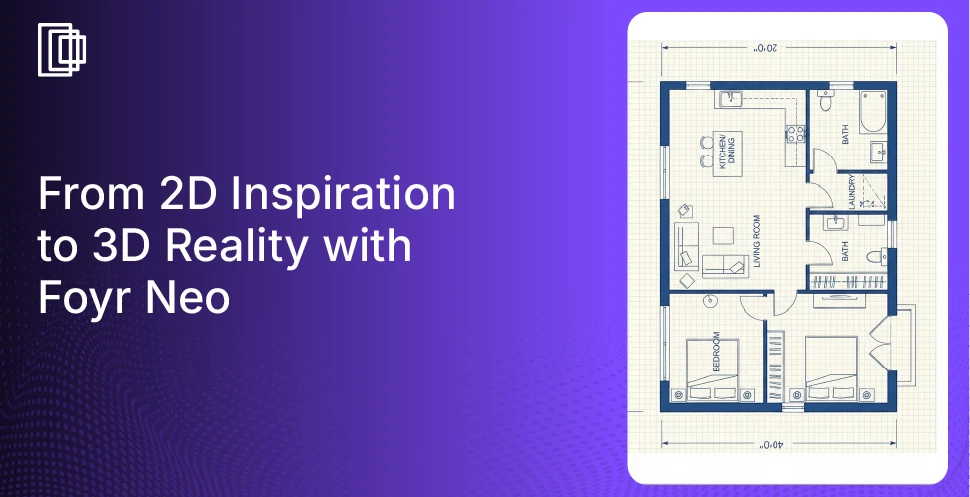
An interactive 3D walkthrough is a virtual simulation of a space that allows users to navigate through it as if they were physically present. Unlike static images or floor plans, 3D walkthroughs provide an immersive experience, showcasing the spatial relationships between different areas and highlighting design elements in a dynamic way. A 3D floor plan maker often includes walkthrough features to help users visualize layouts more effectively.
Unlike static images or floor plans, 3D walkthroughs offer an immersive experience, providing context and perspective that allow clients to understand the flow between rooms, appreciate ceiling heights, and visualize furniture placement. They have become essential tools for architects, interior designers, real estate agents, and property developers who need to showcase properties effectively.
Check out this video to learn how you can bring your designs to life with stunning 3D walkthroughs using Foyr:
Benefits of 3D Walkthroughs
3D walkthroughs offer numerous advantages for both designers and clients:
- Enhanced Visualization: See how different design elements come together in real time.
- Improved Communication: Help clients and stakeholders understand your vision clearly.
- Time and Cost Efficiency: Identify design issues early, reducing the need for costly changes later.
- Competitive Advantage: Stand out in the market with cutting-edge presentations.
Step-by-Step Guide to Creating a 3D Walkthrough
Learning how to create a 3D walkthrough requires following a structured process. Here’s a comprehensive guide to help you develop professional virtual tours.
Step 1: Define Your Project Goals
Before diving into software and design, clarify what you want to achieve with your 3D walkthrough.
- Purpose: Is it for client presentations, marketing, or personal planning?
- Scope: Are you showcasing an entire property or focusing on specific rooms?
- Audience: Who will be viewing the walkthrough? Tailor the experience to their needs.
Creating an interactive 3D walkthrough starts with a clear vision of what you want to achieve. Consider whether you need a fully interactive experience or a pre-rendered video tour.
Step 2: Gather Accurate Measurements and Data
Accurate measurements are crucial for a realistic walkthrough.
- Measure Spaces: Use laser measures or tape measures for precise dimensions.
- Collect Floor Plans: If available, obtain existing architectural drawings.
- Photograph the Space: Capture images for reference, especially if replicating existing conditions.
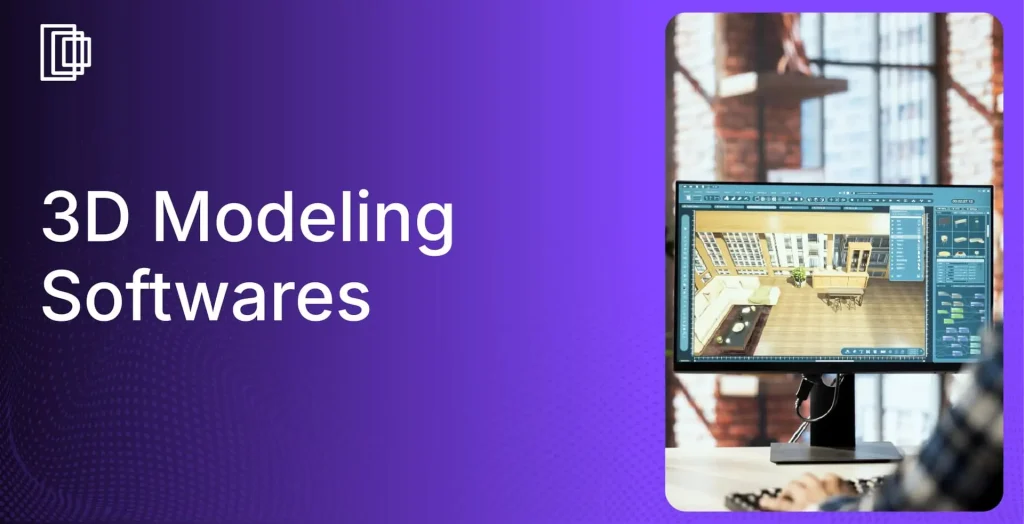
Step 3: Choose the Right 3D Walkthrough Software
Selecting appropriate software is crucial to creating a 3D walkthrough that meets your needs:
Popular 3D Walkthrough Software Options:
- Foyr Neo: User-friendly with powerful features tailored for interior designers and real estate professionals.
- SketchUp: Great for modeling but may require plugins for walkthroughs.
- Autodesk Revit: Comprehensive but with a steeper learning curve.
- Blender: Free and open-source but more suitable for advanced users.
Considerations When Choosing Software:
- Ease of Use: Does the software suit your skill level?
- Features: Does it offer the tools you need, like realistic lighting effects and material libraries?
- Cost: Consider your budget; some software offers free trials or subscriptions.
- Support and Tutorials: Availability of customer support and learning resources.
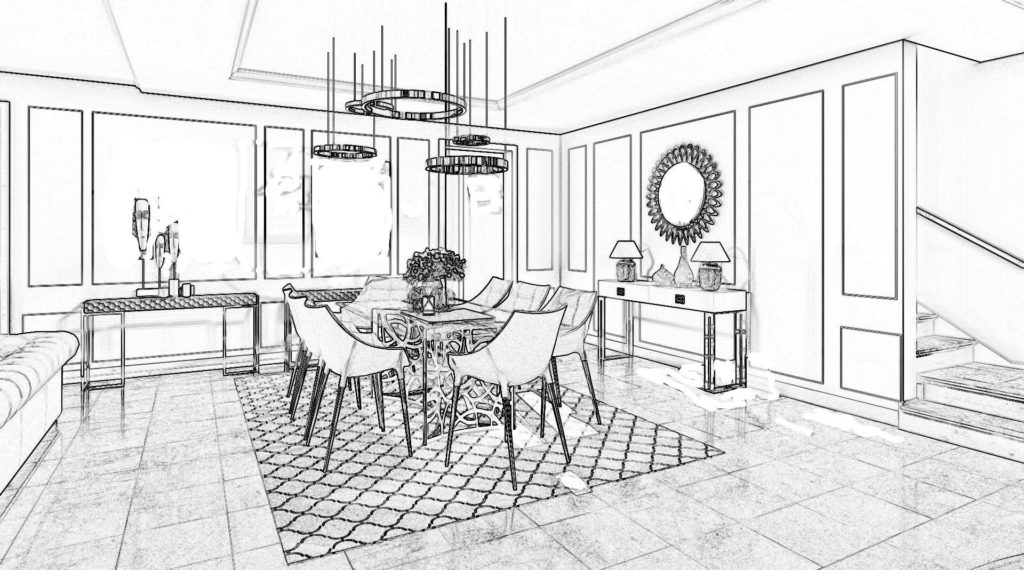
Step 4: Create Your 3D Model
The 3D walkthrough creation process begins with accurate modeling that captures the essential elements of your design. Begin building your space in the software.
Tips for Effective Modeling:
- Start with the Structure: Model walls, floors, and ceilings first.
- Use Accurate Dimensions: Input exact measurements for realism.
- Leverage Templates: Some software offers templates for common room types.
Step 5: Add Architectural Elements and Details
Incorporate doors, windows, and other structural features.
- Doors and Windows: Place them according to your floor plan.
- Stairs and Levels: If your property has multiple floors, ensure connectivity.
- Custom Elements: Create or import unique architectural features as needed.
Step 6: Furnish and Decorate the Space
Bring your design to life with furniture, fixtures, and decor.
- Furniture Libraries: Use built-in libraries or import models.
- Materials and Textures: Apply realistic materials to surfaces.
- Decorative Elements: Add artwork, plants, and accessories for a lived-in feel.
Step 7: Set Up Lighting and Ambiance
Lighting dramatically affects the mood and realism of your walkthrough.
- Natural Lighting: Simulate sunlight based on geographic location and time of day.
- Artificial Lighting: Add fixtures like lamps, chandeliers, and recessed lights.
- Shadows and Reflections: Enable these features for added realism.
Step 8: Configure Camera Paths and Navigation
Determine how users will navigate through the space.
- Predefined Paths: Set a guided tour with specific viewpoints.
- Free Navigation: Allow users to explore the space at their own pace.
- Interactive Elements: Incorporate clickable objects for additional information.
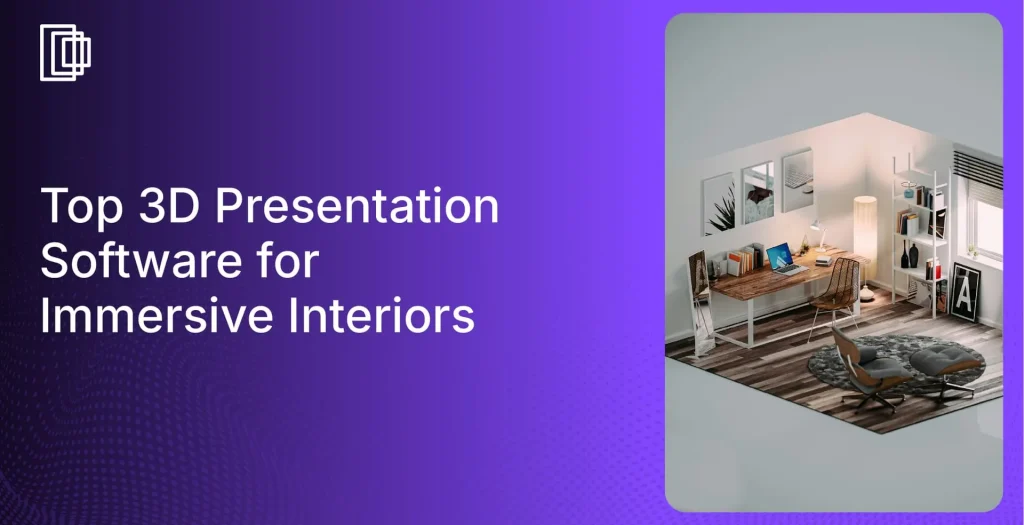
Step 9: Render and Export Your Walkthrough
Prepare your walkthrough for sharing.
- Rendering Settings: Choose the quality level; higher settings produce better visuals but take longer.
- File Formats: Export in formats compatible with your intended platform (e.g., MP4, EXE, web-based viewers).
- Test the Walkthrough: Ensure everything functions correctly before distribution.
Step 10: Share and Present Your Walkthrough
Deliver your walkthrough to your audience.
- Presentations: Use in meetings or virtual presentations to impress clients.
- Online Sharing: Host on your website or share via links.
- Virtual Reality: For an immersive experience, adapt your walkthrough for VR headsets.

Tips and Best Practices
Here are some actionable tips you can follow to create high-quality 3D walkthroughs:
Prioritize User Experience
- Smooth Navigation: Ensure transitions are fluid to prevent disorientation.
- Intuitive Controls: Make it easy for users to navigate without instructions.
- Optimize for Performance: Balance visual quality with file size to prevent lag.
Keep Realism in Mind
- Scale and Proportion: Double-check that all elements are appropriately sized.
- Consistency: Use materials and styles that match throughout the space.
- Attention to Detail: Small touches like baseboards or light switches enhance realism.
Stay Updated with Trends and Technology
- Emerging Tools: New software and plugins are continually being developed.
- Industry Standards: Keep an eye on what competitors are offering.
- Client Feedback: Use insights from past projects to improve future walkthroughs.
Why Choose Foyr Neo for Your 3D Walkthroughs?
At Foyr, as a leading interior design software, we understand the unique needs of interior designers and real estate professionals. That’s why we developed Foyr Neo, a powerful yet user-friendly platform that simplifies the process of creating stunning 3D walkthroughs.
Features of Foyr Neo:
- Our intuitive interface provides simple drag-and-drop functionality, enabling designers to create plans without a steep learning curve.
- Utilize our extensive libraries, which feature 60,000+ pre-built and render-ready 3D models for any design project.
- Experience fast rendering capabilities that generate photorealistic visuals with up to 12K quality output in just a few minutes.
- The completely cloud-based platform allows you to access projects from anywhere without needing high-end hardware or local installations.
- Create interactive virtual experiences for clients, including stunning and immersive 3D walkthroughs that can be generated in just a few clicks.
These integrated features make Foyr Neo the ultimate all-in-one platform for designers to work with speed and simplicity.
For situations when you need an expert hand and are short on time, our team can even trace your floor plan for you. For more comprehensive needs, our interior design services provide professional assistance to bring your most ambitious projects to life, starting from just $99.
Conclusion
Creating a 3D walkthrough of your home or property is a powerful way to visualize and share your design vision. By following this step-by-step guide, you can produce an immersive experience that will impress clients, stakeholders, and audiences alike.
Whether you’re an interior designer looking to showcase your latest project, a real estate professional aiming to give prospective buyers a virtual tour, or an enthusiast excited about planning your dream home, 3D walkthroughs offer unparalleled benefits.
Interested in making your own 3D walkthroughs effortlessly? Sign up for a free trial of Foyr Neo and discover how easy it is to bring your ideas to life.
Frequently Asked Questions
What Software Is Best for Beginners?
Foyr Neo is an excellent choice for beginners due to its intuitive interface and comprehensive features designed for interior design and real estate applications.
How Long Does It Take to Create a 3D Walkthrough?
The time varies based on the project’s complexity and your proficiency with the software. Simple projects may take a few hours, while more detailed walkthroughs could take several days.
Do I Need Specialized Hardware?
While high-quality walkthroughs benefit from powerful computers with good graphics capabilities, many software options are optimized to run on standard hardware.
Can I Update the Walkthrough After It’s Created?
Yes, most software allows you to edit and update your walkthrough. This is useful for making revisions based on client feedback.
Is It Expensive to Create a 3D Walkthrough?
Costs can vary. Some software requires a subscription or one-time purchase, but the investment often pays off by enhancing your professional offerings.
How to make a 3D walk through?
A 3D walkthrough creation process involves several key stages:
- Model Creation: Build a detailed 3D model with walls, floors, and windows.
- Adding Details: Enhance with furniture, textures, lighting, and décor for realism.
- Animation: Set camera paths to create smooth and interactive virtual navigation.
- Rendering: Export as a high-resolution video or interactive file for presentations.
How much does a 3D walkthrough cost?
The cost of a 3D walkthrough can vary widely depending on the software used and the project’s complexity. All-in-one design platforms like Foyr often include this feature within a subscription, providing a cost-effective solution for designers who need to create them regularly. This approach eliminates per-project fees and provides continuous access to powerful tools.
Which 3D software should I use?
The best software depends on your skill level and needs. For interior designers seeking a streamlined, intuitive solution, Foyr is an ideal choice. It combines a user-friendly interface with powerful features, from modeling to rendering, specifically designed for design workflows. This allows you to create a professional 3D walkthrough without a steep learning curve or technical barriers.
Is the Foyr 3D walkthrough free?
Foyr offers a 14-day free trial that provides full access to its features, including the 3D walkthrough creator. This allows you to explore the software’s capabilities, design a project, and create your own walkthrough to see how it fits your workflow. After the trial, you can choose from various subscription plans to continue using the platform.