What is a 3D Walkthrough?
Does space-walk sound exciting to you? Evidently, enough, who wouldn’t love to experience anything surreal once in a lifetime. Thanks to technology, while you may not be able to experience it physically, it’s not a far-fetched dream in the virtual world.
A 3D Walkthrough is an exhilarating experience and with the real estate industry booming at a rapid rate, everything needs to be at utmost accuracy. You as an architect or an interior designer need to make sure you don’t fall behind on that part.
Before we begin with how to create the best 3D walkthrough to get your clients jumping with joy, let’s take a look at what exactly they are and what makes it a must in today’s realty market scenario.

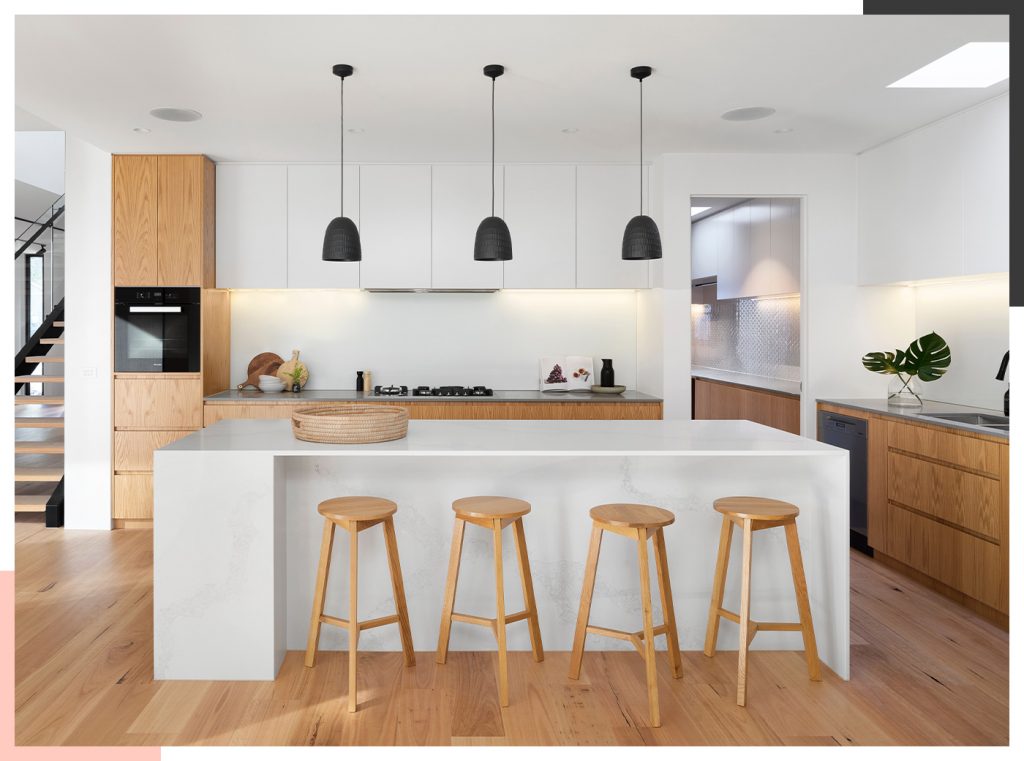
Image credits: pinterest.com
A 3D walkthrough is a computer-based animation, more like a movie, which is the exact representation of what the future project is going to look like. This has changed the way the industry works for real estate developers, interior designers, and buyers too as they now know exactly what they are investing in.
3D walkthroughs help in understanding each detail of the project or the property by letting viewers get different perspectives from almost all possible angles. They can also get a detailed outline of the texture of the walls, floors, windows, the furniture. And anything plausible they can imagine with their property will be right on the screen for them to experience.
The latest 3D walkthrough softwares help you make the most commendable impressions of the work you are going to put forward. So it is now one of the most important parts of running a real estate development business.

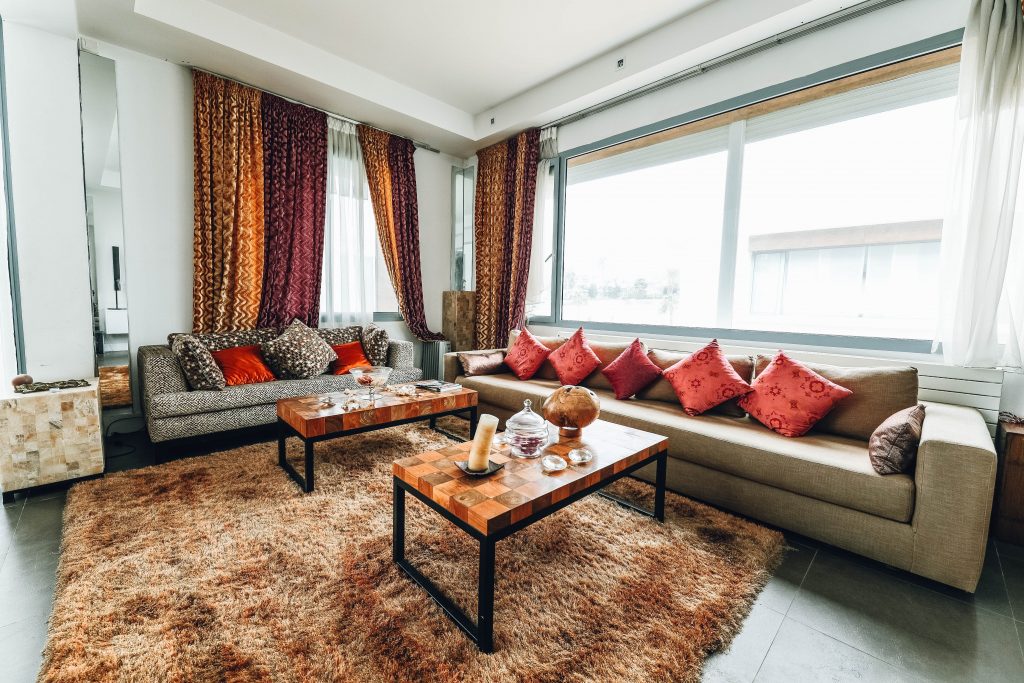
Image credits: pixabay.com
5 Steps to Create a 3D Walkthrough
While creating a 3D walkthrough used by professionals is an intensive task and requires skilled designers on the job. Modern softwares are making things easier and if you as a designer would like to make one, here are the basic steps involved in the process.
Step 1 – Define the Path and Layout
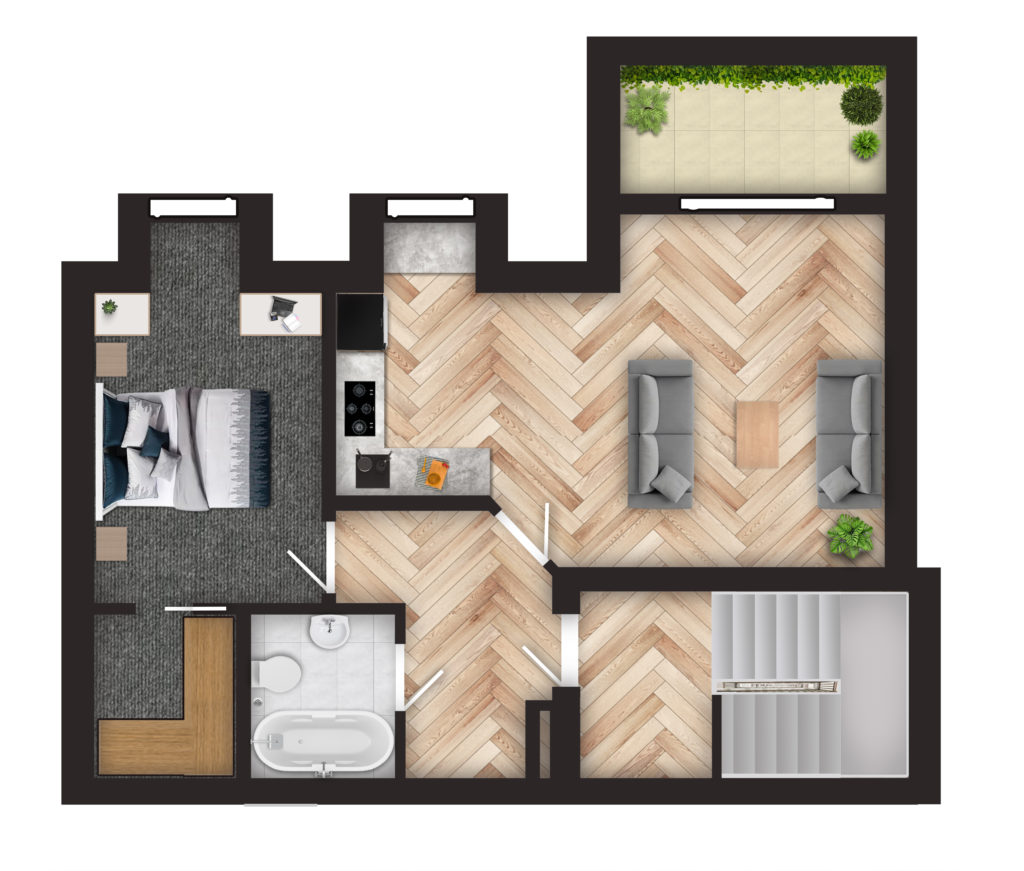
]The animation walkthrough has to be an exact replica of the real-life project. To begin with, select a start point and the end point of the project that you are designing. It could be a house, an office space, a studio or even a store.
Once you have the positions selected, you need to draw the complete path of the place. To get the best results, it is advised to stick to working with the top view. You can later add the required elevations and submergence to the floors, walls, and the ceiling.

Image credits: lpmaintenance.co.uk
Step 2 – Set Up the Camera Views
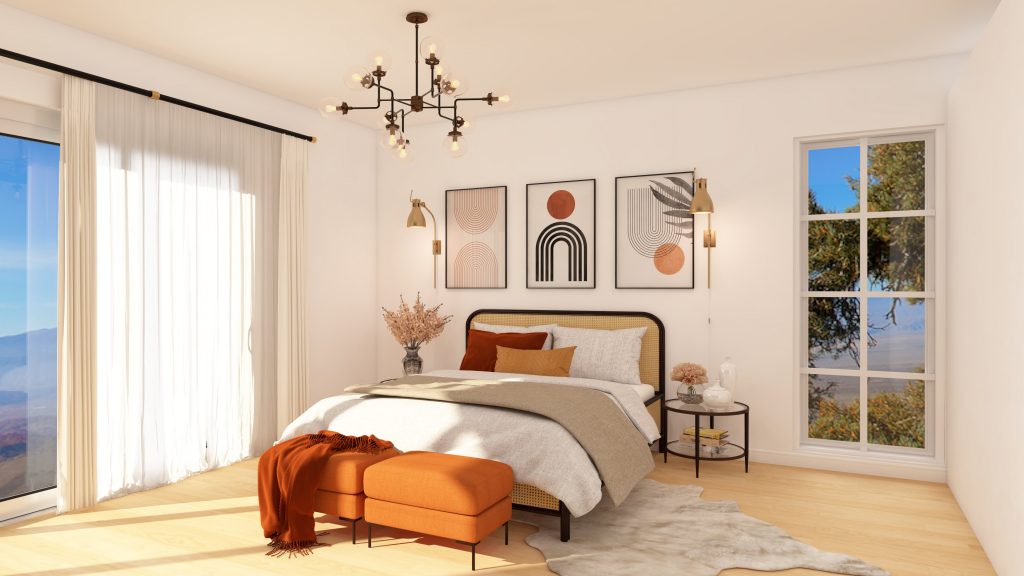
Add a camera to your 3D walkthrough. This is perhaps one of the most crucial steps as it decides all the possible perspectives of the property you can provide to your client. The control panel of the 3D Walkthrough software will consist of all the options you need for this purpose.
You can either select the left-view port or the right-view port. Although, the left-view port orientation is often preferred. Make sure to set the right focal length and initialize the camera parameters to the smooth configuration to allow for a better viewing experience.
Step 3 – Configure Timing and Animation Speed
Timing is a key aspect of your animation. It’s important to allow ample time to notice intricate details but also not make it too slow as to make it boring. Time configuration is what differentiates the best 3D walkthrough from the rest.
With the latest 3D walkthrough softwares you can set the desired frames per second. Ideally, 15 frames are what we see in the top 3D walkthrough. You always have the option to pause the animation if something comes up so it’s important to find the sweet spot duration.

Image credits: goods.ruten.com.tw
Step 4 – Plan the Walkthrough Flow and Elevations with Foyr Neo
There are several paths your animation could follow. It’s best to start with the most important space in the project and head to the ones of least importance. In some special cases, you might also want to save the best for the last so that’s on you and how the client would react to it.
Make sure the elevation is not missed out and the camera elevates while hovering over it to give an actual feel of walking through the project and make it feel as real as possible.
Step 5 – Preview, Test, and Finalize
The last step is to make sure that all the hard work you have done pays off and to do that, preview your work thoroughly and fix any anomalies that you find. Run various tests, try out the best possible combinations of the furniture, rugs, appliances, kitchen wares, bathroom wares, and the colors.

Image credits: ply-wood-and-interior.epizy.com
3D Walkthroughs are the future, especially when virtual reality is becoming so popular. A good software like Foyr Neo ensures that your 3D walkthrough can be accessed from any device and render animations as smooth as possible. Neo also provides the opportunity for the user to create the complete walkthrough in a one-stop software, without these complicated steps. The applications of 3D walkthroughs are going to increase immensely in the near future and are going to do wonders in the field of real estate.