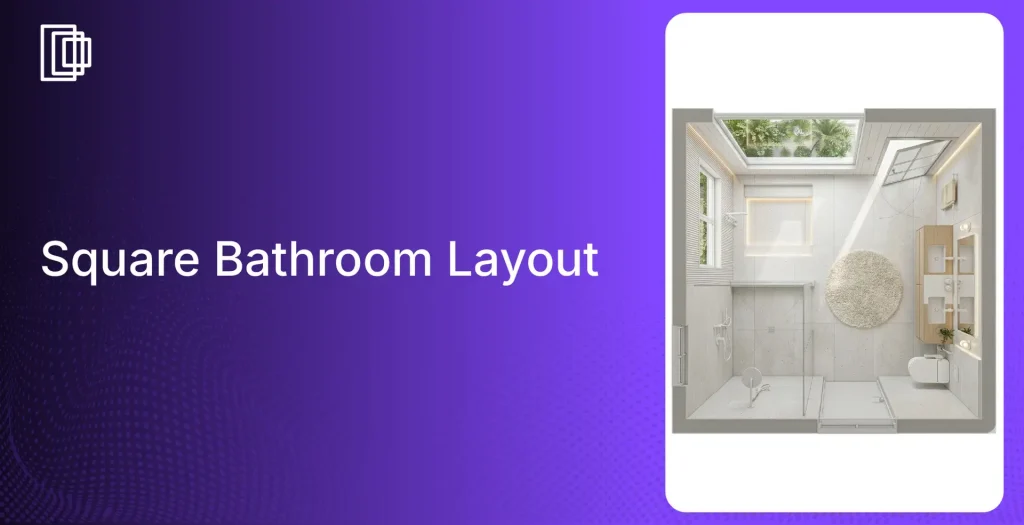
Would it be possible to just upload a 2D drawing and still get a beautifully rendered 3D floor plan that is visually pleasing to help you and your client settle the deal? At Foyr, the latest interactive walkthrough achieves just that and relies on 3ds Max from AutoDesk for animation, modeling, visualization and rendering. Experience the MagikTour using the most popular software used by professionals like filmmakers, artists, architects and interior designers, gamers and designers of virtual-reality at Foyr.

Image credits: pinterest.com
How interior designers can benefit
- 3ds Max offers multiple-animation controller-tools to edit and create 3D effects and animations by forming chains to remember stored values for keys, procedures and settings.
- It allows a preview of the render and the ActiveShade tool helps change the materials, objects, lighting etc while working interactively from the window pane.
- Creates physical environments using objects, light, materials etc drawn from other render-engines to pick-and-match one’s
- Creates light refractions, reflections, edit materials, map scenes, apply textures both ready and creative, simulate scenery, and so on, using the ultra-flexible dialog tool called “Material Editor’.
- Heatmap Skinning and Geodesic Voxel creating motion paths, effects like particle flow, fluid flow, Spline workflows and surface and mesh modeling are incorporated.
- Arnold-3ds Max, 360 degree renders, physical camera incorporation, creation graph controllers, ART RayTracer render, scene converter, a blended box map, a hair and fur modifier make integrating and customizing spaces, editing and texture assigning simple.
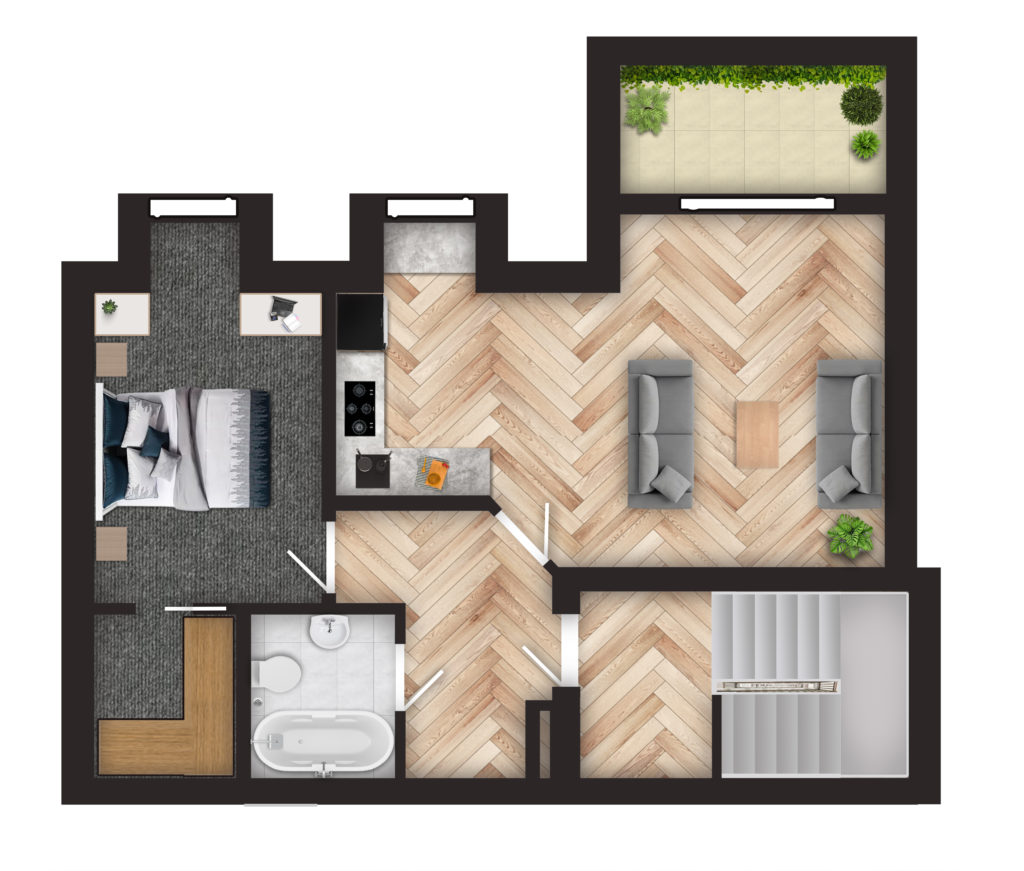
Create a 3D architecture floor plan render

Image credits: duraseinusa.com
One can use software like Sketchup, Adobe Photoshop, Revit and the hugely popular 3ds Max to achieve the best floor plans and layouts. Firstly, create a list of project details like materials, furniture, floor space needs, windows, paint preferences, themes and flooring needs to interpret the needs and ideas of the client. You can use 3ds Max effectively to create a render of a 3D floor plan using the simple steps and tools detailed below.
How to import a 2D floor plan
From your CAD drawing select the unit like meters, feet, mm, inches etc using the customize menu and drop down box. All other values can be left at default settings.
Import the drawing file
- Choose Import from the menu.
- Browse and open your file.
- Click okay for default settings.
- Use ‘Group tab’ to set coordinates of x,y,z to zero.
- Right-click and freeze selection.
Set the units through the dialog box of the import option.
Modeling Techniques for GF
Begin with the camera and its angle, focus and position. Focus on an area by keeping those walls low in height (4ft) and the other walls at full height (8 ft).
Wall Extrusion
Use the top-view shortcut-T. Next, use the shortcut-S to turn on the 2.5 toggle snap icon. Right-click the toggle icon to choose the grid vertex. Use line-tool to feature walls with the above settings.
Sills, bottoms of beams and windows should have 7 ft lentil level, 1 ft for the bottom of beams for the windows. Keep bedroom, utility, and kitchen windows at 2ft 6 in.
Flooring spaces can use parking and patio in concrete, bathrooms with 5ft x 1.5 ft tiles, carpeted flooring for master bedrooms, and wooden or other flooring for living areas. Ensure a 20mm extrusion margin.
Doors and Windows depend on client needs. Examples are 3ft 3in x 4ft 6 in deep normal windows or 50mm bordered 2ft 6in x 6ft for double windows. Recommended values for hinged entrance doors are 50mm bordered 7ft x 3ft, bedroom doors at 7ft x 2ft 8in and bathroom doors having 2ft 6in width. Store and pantry doors width can be at 2ft width.
Counter tops need to be designed keeping space constraints in mind with versatility. Use granite and draw a line to extrude it to 1in while placing it 2ft 6in above the finished level of the floor. Provide for 5 mm tiles in the kitchen, toilets etc. Next, set in the toilet counters similarly. Place meshes for the sinks and cabinets below. Similarly fill in objects like the dining table, bed, furniture, couch, TV and whatever the client’s needs are.
Texturing elements and visualization go together. Use the Vray ‘Material Editor’.
- The shortcut–M allows you to select from the browser’s map for materials.
- Select bitmap using the dialog box for automatic conversion.
- Tweak the reflection values, glossiness, paint colors etc to get the UVW render.
Set-up Vray Camera
Choose settings like the angle, position, focal length, f-number, white balance, and shutter speed.
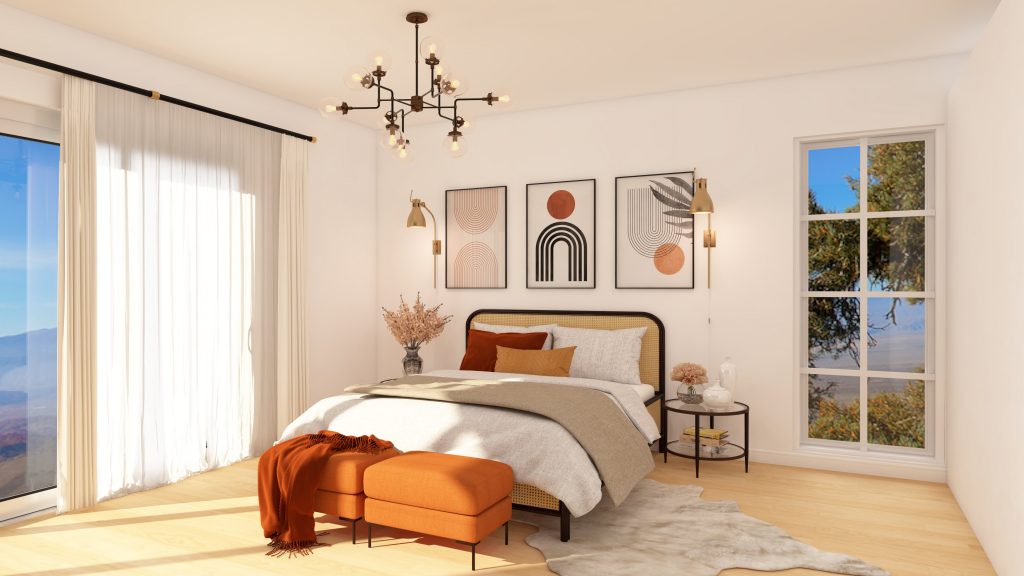
Vray texturing, rendering and lighting.

Image credits: studioark5.com
Vray dome provides the best overall top-view illumination filling in the spaces where lights cannot reach to give an illusion of brightness.
- Click the tab for lights.
- Select Vray from settings for light, object, and type.
- Click viewport.
Vray Sun enlivens with interesting shadows of various depths, heights and angles for the best effect.
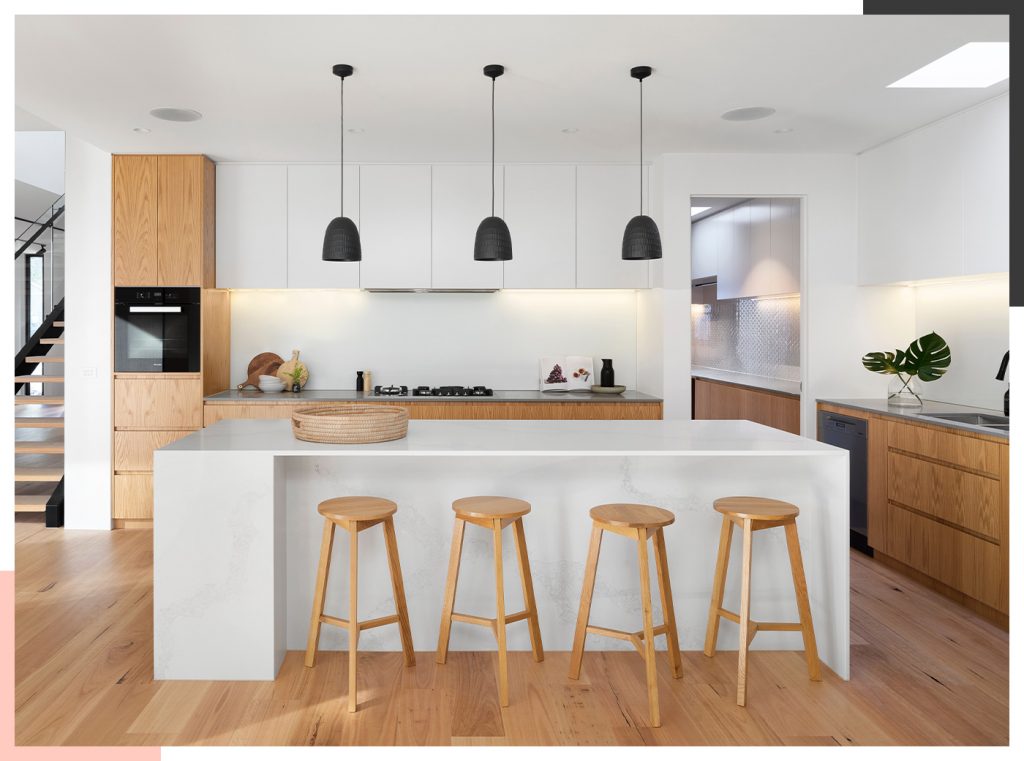
Vray Render is to choose the best from the Blender box. Preset settings and customization involve tweaking for the right look. Use it to cast shadows and make the effect more realistic. Use Photoshop for post effects like brightness, contrast, tone, or levels. Use ‘Cutaway View’ for expression in presentations to offer the best and unique animated and digital render of your floor plan.
All in all a great user-experience from the best Foyr renders in architectural drawings.

Image credits: picdeer.com