The Beauty of Mural Wallpaper in Home Decor
In recent years, a new trend has emerged in interior design. People have started using mural wallpapers to redefine their homes and living spaces. Rooms adorned with mural wallpapers automatically turn into breathtaking masterpieces. These larger-than-life wall coverings have become the go-to choice for homeowners trying to infuse personality and vibrancy into their homes. Mural wallpapers can elevate the aesthetic impact of any setting. This post will go through the step-by-step process of installing mural wallpapers. This mural wallpaper installation guide will be helpful for experienced DIY enthusiasts and newcomers trying their hand at home decor for the first time.
Choosing the Right Mural Wallpaper
Here are three core aspects you need to manage while picking a mural wallpaper for your home:
Selecting the Design
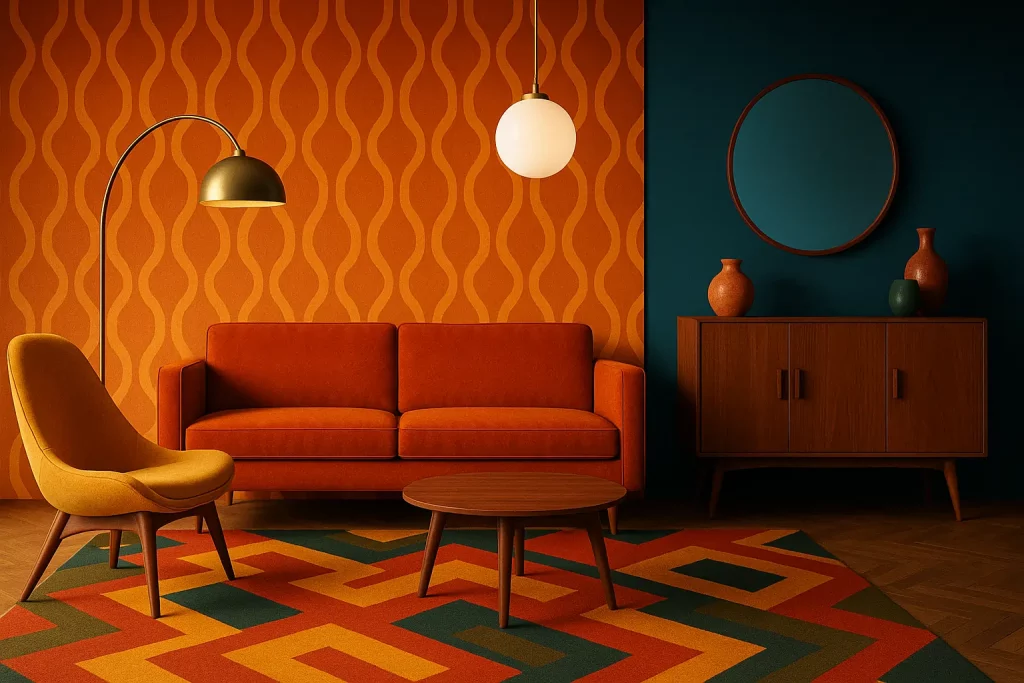
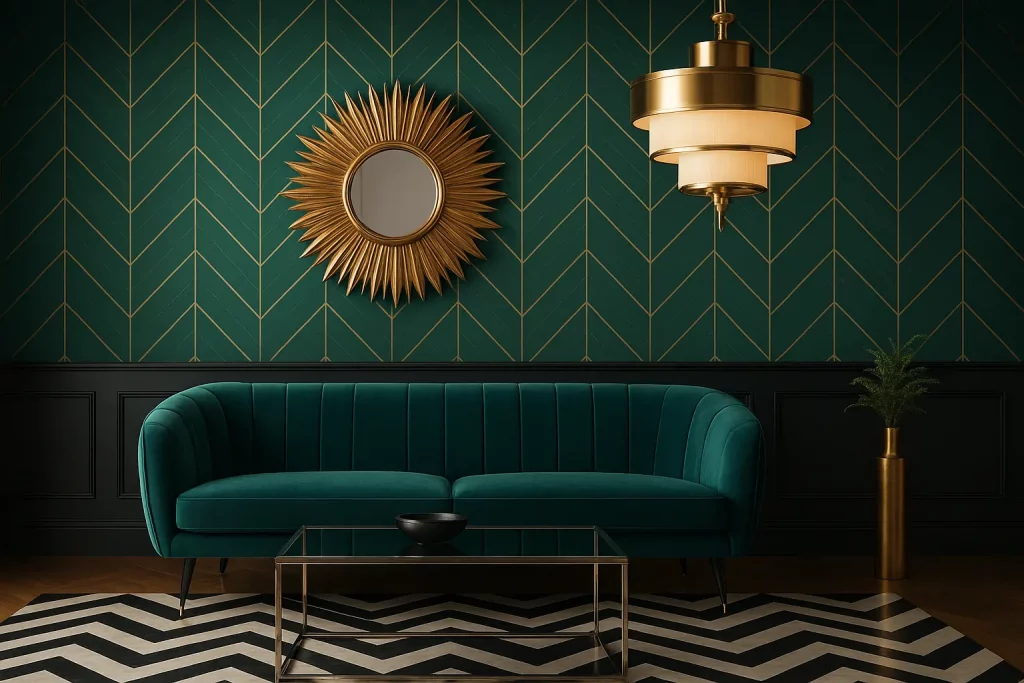
The wallpaper’s design often becomes your room’s heart and soul. So, you must carefully shortlist designs that align with your room’s theme, color scheme, and overall style. While selecting the theme, you must contemplate what you wish your room would look like. For instance, if your theme is nature, you can pick a wallpaper with flowers and trees.
 Source: Pinterest
When it comes to color schemes, the colors of the wallpaper must be in harmony with your existing decor. It could be complementary shades or a bold contrast to create a striking focal point. Lastly, your design must also reflect the overall style of your space. For example, it could be either modern, minimalist, or traditional.
Measuring the Wall
Next, you must accurately measure the wall where the mural wallpaper will be installed. Accuracy and proper measurements are essential for determining the right size of the wallpaper. To get the correct idea of the height and width of the wall:
- Use a tape measure and take the measurements from the corners.
- Always ensure that you measure from the highest and widest points to avoid any discrepancies.
- Keep a tab on windows, doors, electrical outlets, etc., on the walls while measuring.
- Measure their dimensions accurately, as it will help in accurate mural placement.
Quality and Material
Mural wallpaper is not only about aesthetics; it’s also about longevity. You must always opt for high-quality materials to ensure that your investment doesn’t go to waste. Vinyl is a great option primarily due to its durability and ease of maintenance. It’s resistant to moisture and can be wiped clean. This makes it an excellent choice for rooms like kitchens, bathrooms, and high-traffic areas. Similarly, non-woven wallpaper is known for its breathability, which minimizes the risk of mold and mildew. It’s also tear-resistant and can be easily removed when you change your decor.
Read also – 10 Best Gallery Wall Ideas To Design Your Blank Walls
Preparing the Wall for Installation
Before installing the mural wallpaper on your wall, you must ensure the surface is prepared correctly. Here are the critical steps involved in this –
Cleaning and Smoothing
Clean the wall thoroughly by removing dust, dirt, and debris. You can use a soft brush for this. If there are stubborn stains or grease, use a mild detergent solution and a damp cloth or sponge to gently scrub the area. Once dry, examine the wall for imperfections, such as cracks and holes. Address them before proceeding. Some imperfections might require patching with drywall compound.
Priming the Wall
Priming the wall helps create a smooth and uniform surface while enhancing the adhesive bonding of the installation material. You must always select a primer that is suitable for your wall material. For application, you will need a paintbrush or a roller. Stir the primer first, then apply an even coat to the entire surface. Cover all the areas, including corners and straight edges. It will take at least 24 hours to dry for optimal adhesion.
Removing Obstacles
Next, remove all wall fixtures, including shelves or wall decor. Turn off the power to electrical outlets and switches, and remove the faceplates. If needed, consult an electrician for this task. The goal is to unscrew and detach all the outlets and switches from their electrical boxes so that you can carry on the mural installation with the required safety.
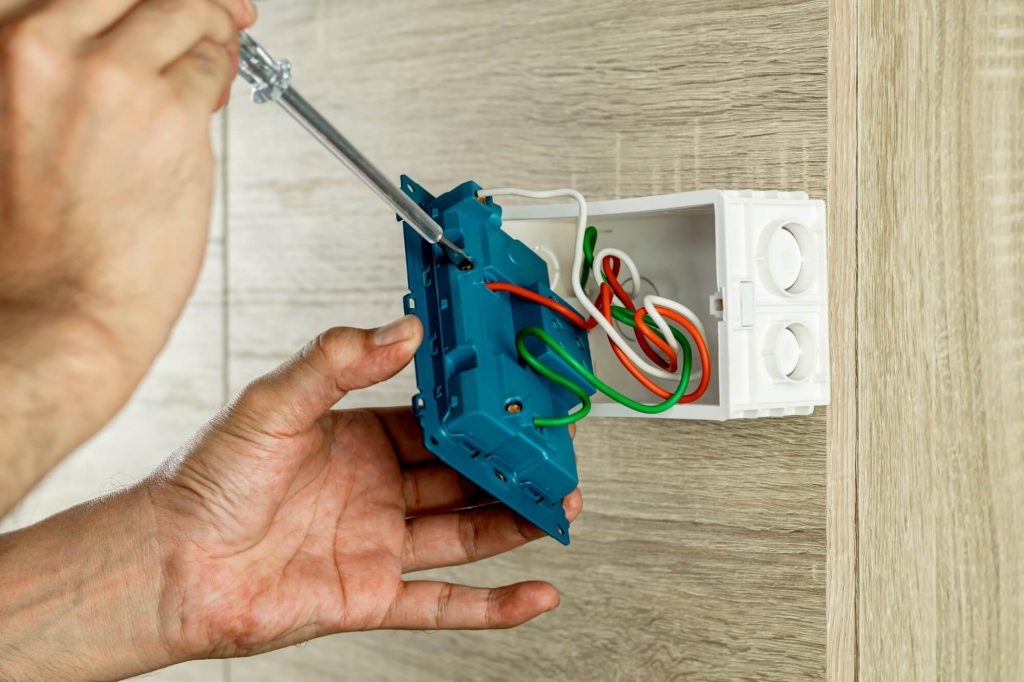 Source: Freepik
Step-by-Step Installation Process
Now, it is time for the actual installation process. Here are the three significant steps involved in this process –
Gathering Tools
Gather all the necessary tools and materials required for the installation. It will typically include:
- Adhesive
- Paint rollers and tray
- Smoothing tool or wallpaper brush
- Measuring tape
- Spirit Level
- Utility knife
- Cutting mat
- Step ladder
- Water
- Rags or paper towels
Having these items ready and within reach will make the installation smoother and more efficient. With all the tools assembled, you are well-prepared to start the installation process.
Mixing the Adhesive
Carefully follow the manufacturer’s instructions on the adhesive packaging. You must mix the adhesive with the right amount of water to achieve the desired consistency. Use a clean bucket to avoid contaminating the adhesive, and stir the mixture thoroughly until it is smooth and free of lumps. After mixing, allow the adhesive to sit for a few minutes or as specified in the instructions. This resting period activates the adhesive, ensuring its effectiveness during installation.
Starting at the Center
Starting the wallpaper installation from the center of the wall will help you achieve a balanced and aesthetically correct result. Measure the width of your wall and then earmark its center point horizontally using a pencil. If needed, use a level to ensure precision.
Read also – 20 Decorative Wall Paneling Ideas for Your Room
Applying the Mural Wallpaper
Now that you have got all the basics right, it is time to apply the wallpaper mural throughout the wall. Here are the steps you need to follow –
Applying Adhesive
Step 1 is to lay the first panel face down on a clean and dry surface. It could be a large table or even the floor. Now, use a paint roller or a wallpaper adhesive brush to apply adhesive to the entire back of the mural. Ensure that you cover the entire surface. After the application, gently fold the mural in on itself, adhesive side to adhesive side. There must be no creasing on the paper. This process allows the paper to adjust appropriately.
Aligning the Top
Carefully unfold the top portion of the mural. Make sure that the adhesive side is facing out. Align the top edge of the mural with the guideline you marked on the center of the wall during the preparation phase. Once the top edge is aligned, gently press the mural onto the wall using your hands or a wallpaper-smoothing tool. Work from the center outwards to ensure a firm bond.
Smoothing and Removing Air Bubbles
As you continue to unfold and apply the mural downward, use a wallpaper smoothing tool or a wallpaper brush to eliminate air bubbles or wrinkles. Start from the center and move towards the edges, using even and gentle pressure. Be patient and thorough in this step, as it will significantly contribute to a smooth and visually pleasing installation.
Matching Patterns and Edges
Before you complete your wallpaper, carefully inspect each panel for pattern alignment. Use a plumb line or a level to ensure all the mural panels are perfectly vertical. While installing every panel, try overlapping the edges slightly, typically by about 1/8 inch. This overlap will help create a seamless look by compensating for any irregularities in the wall. Continuously check the alignment of the patterns as you work your way across the wall. Adjust each panel as needed to ensure patterns match up without any noticeable gaps.
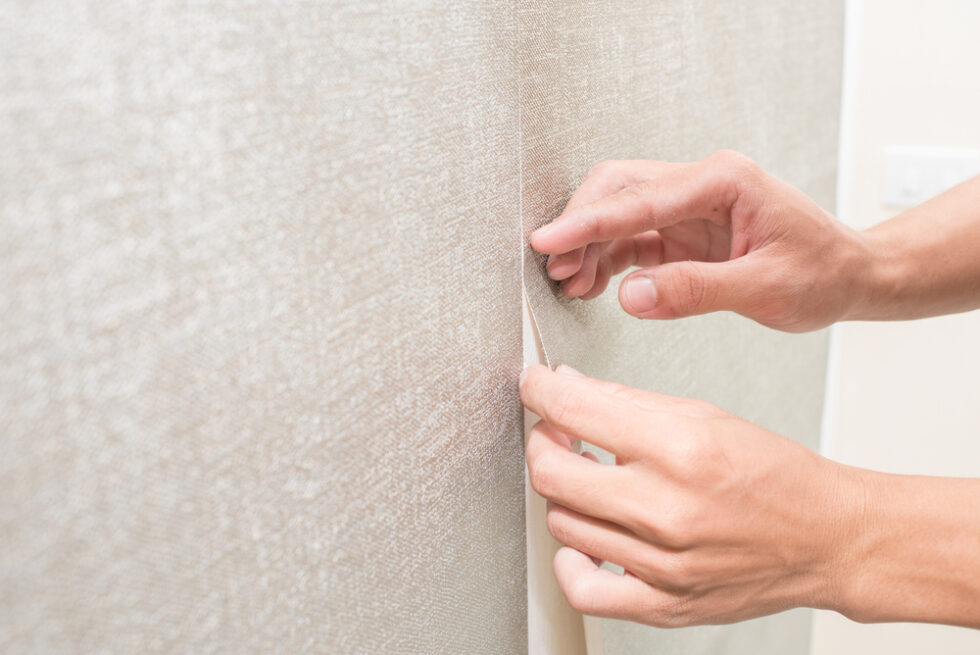 Source: Shutterstock
Trimming Excess
Measure the excess wallpaper at the edges of the wall. Mark the excess paper with a pencil, keeping it as close to the edge as possible. Always use a sharp utility knife or wallpaper cutter. A dull blade can tear the wallpaper or result in uneven edges. Use this sharp blade to carefully cut or double-cut along the marked horizontal and vertical lines. Take your time to ensure a clean, straight cut. Make diagonal cuts in a V shape for a smooth fold when you reach corners or edges.
Overlapping Panels
When overlapping panels, ensure that each new panel overlaps the previous one in the same direction as the pattern. This ensures a more natural flow and seamless appearance. After overlapping, gently press the seam with a wallpaper smoother. You can also use a clean fabric to eliminate air bubbles and ensure a tight bond.
Read also – 20 Best Kitchen Wall Decor Ideas to Design Your Kitchen Wall
Final Touches and Finishing
Now that you have successfully installed the wallpaper, you still have a few tasks left to achieve that perfect finish. Here are they –
Smooth Edges and Seams
Once the wallpaper has been successfully installed, dampen a clean sponge with water and run it along the edges and seams of the wallpaper. This helps to activate the adhesive and removes any excess wallpaper paste. Do not saturate the wallpaper with too much water; a lightly damp sponge is all that’s required. This step will ensure your wallpaper is free from visible imperfections along the edges and seams.
Drying Time
There is no right drying time when it comes to wallpapers. You must always adhere to the manufacturer’s recommendations. Rushing this step may result in wrinkles, bubbles, or an incomplete bond between the wallpaper and the wall. Ensure the room is well-ventilated to aid the drying process. Most importantly, resist the temptation to touch or apply pressure on the wallpaper until it’s completely dry.
Reinstall Fixtures
Once the wallpaper is wholly dried and settled, reinstall all the outlets, fixtures, light switches, and wall decors removed during installation. Ensure that they are securely fastened. More importantly, they must be appropriately aligned with the wallpaper. By restoring these fixtures, you not only complete the room’s look but also maintain its functionality.
Conclusion: Elevating Your Space with Mural Wallpaper
As you have read in this post, installing mural wallpaper involves several key steps. It begins with thoroughly preparing the wall, applying the wallpaper carefully, and completing the process by smoothing edges and seams. When executed correctly, this meticulous process leads to a stunning living space transformation. They can transport your room to a different time or place, evoke emotions, and create a striking focal point.
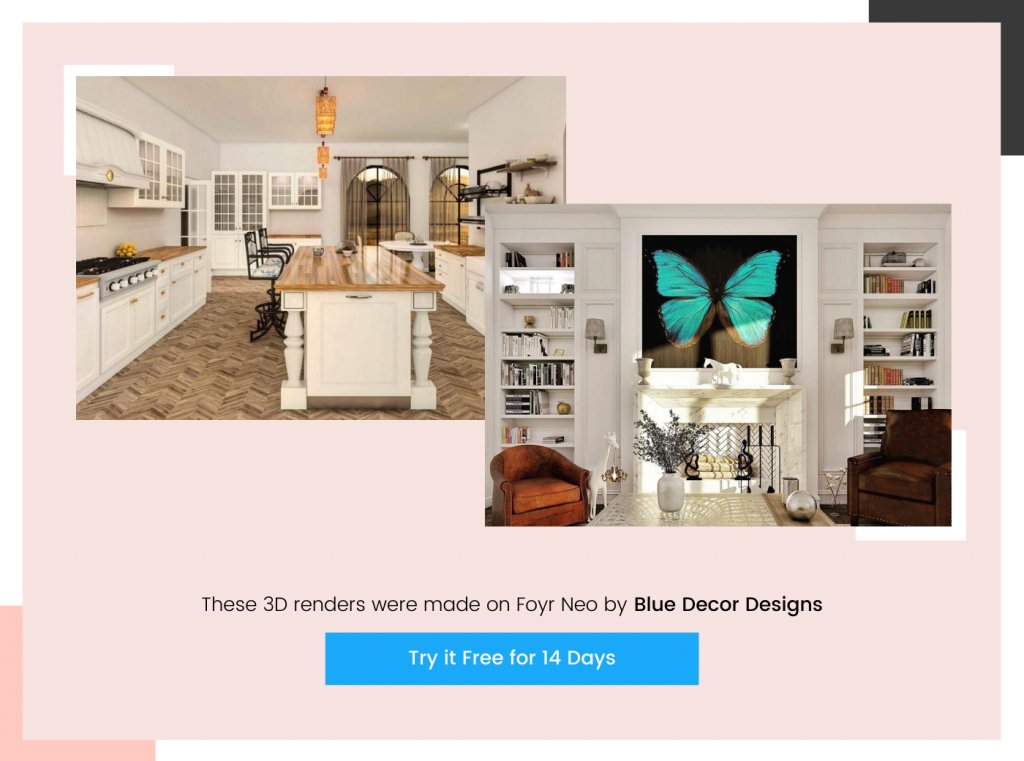
To help you make an informed decision before embarking on this transformative journey, consider using the Foyr Neo Plugin. Foyr Neo’s advanced visualization tools allow you to envision how different mural designs will appear in your space. Experiment with patterns, colors, and placements to ensure your chosen mural harmonizes seamlessly with your existing decor. Try Foyr Neo free for 14 days.
You need to pick a high-quality permeable adhesive paste for a mural wallpaper.
Absolutely. All you need to do is diligently follow the steps highlighted in this post.
Yes. The primer will ensure the wallpaper does not roll or have any issues.
Always use oil-based primer instead of water-based primer because the latter can soak into the wallpaper and loosen the adhesive.
You’ll experience uneven coverage, especially along drywall seams without a primer coat.
While a mural wall painting needs to be sealed, it’s not the case with a mural wallpaper.