Introduction
Have you ever dreamed of redesigning your living space but felt overwhelmed about where to start? Whether you’re planning a cozy bedroom makeover or envisioning your dream home, learning how to draw a floor plan is the first crucial step.
A well-designed floor plan serves as the foundation for any successful interior design project, helping you visualize the space and communicate your ideas effectively. In this guide, we’ll walk you through the process of creating a floor plan both manually and using software. Let’s dive in!
But before we begin, check out this incredible video walkthrough to help you know all about creating your dream floor plans with Foyr.
What Is a Floor Plan?
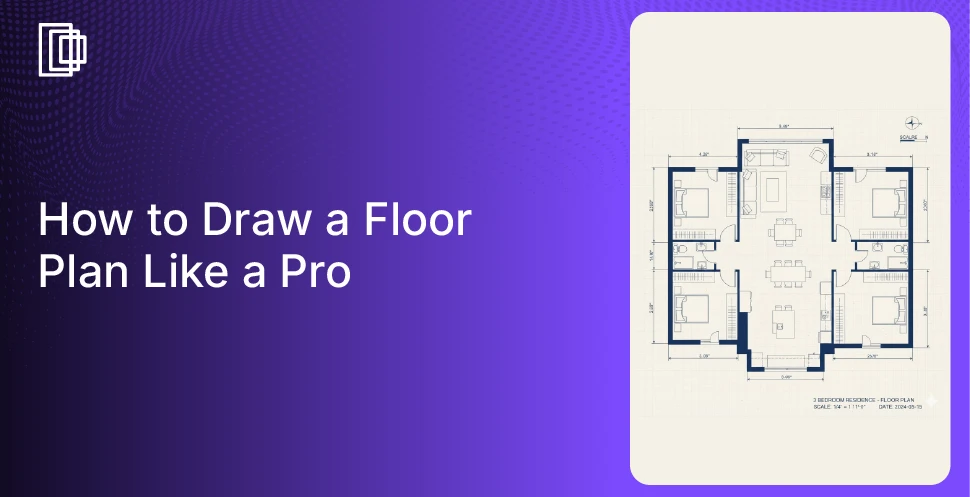
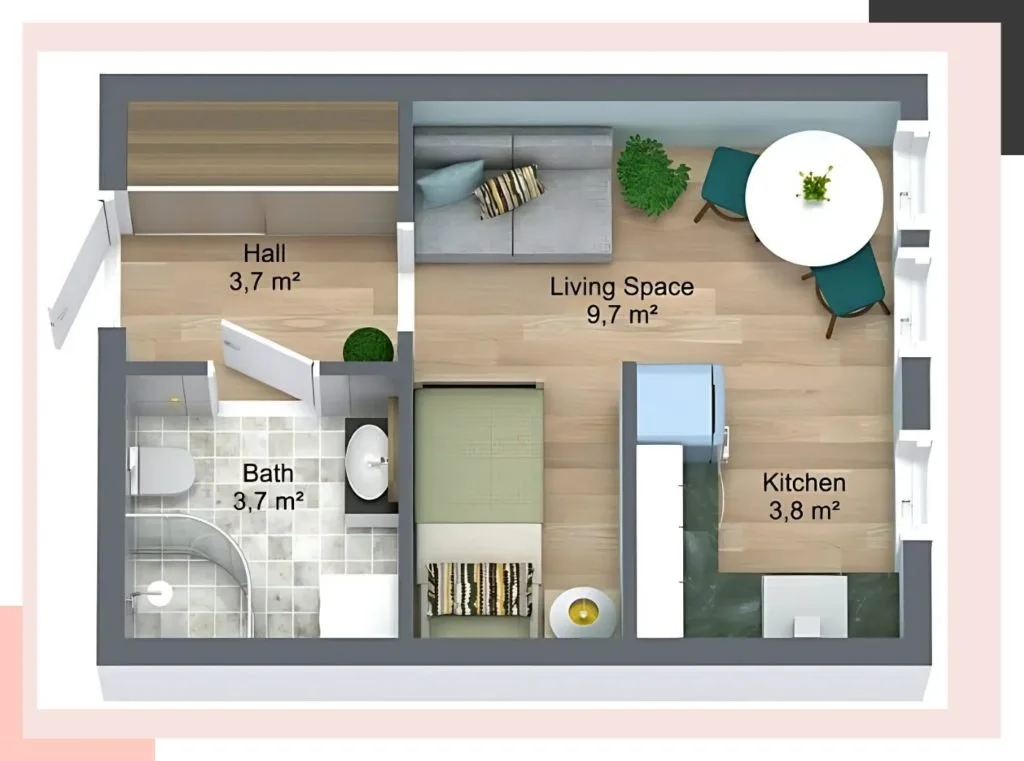
A floor plan is a scaled diagram of a room or building viewed from above. It provides a two-dimensional visual representation of the layout, showing the arrangement of walls, rooms, doors, windows, and other structural features. Understanding how to draw a floor plan is fundamental for space planning in architecture and interior design, as it outlines the relationships between spaces and physical features.
Why Create a Floor Plan?
Before we begin exploring how to draw a floor plan, it is crucial to understand its importance. A floor plan helps you:
- Visualize the Layout: See how different elements fit together in your space.
- Plan Efficiently: Ensure that furniture and fixtures will fit and function as intended.
- Communicate Ideas: Share your vision with architects, contractors, or interior designers.
- Save Time and Money: Identify potential issues before they become costly mistakes.
Read also – how to read floor plans
What Are the Key Elements of a Good Floor Plan?
A functional and easy-to-read floor plan includes several key elements. These are:
- Scale: All objects and structural elements are drawn to a consistent scale (e.g., 1/4 inch = 1 foot) for accurate representation.
- Walls and Structure: Clear outlines of exterior and interior walls that define the space.
- Rooms: Each area is defined and labeled, such as the kitchen, bedroom, or living room.
- Doors and Windows: Correct placement and size of all doors and windows, including the direction of door swings.
- Furniture and Fixtures: Key furniture pieces and permanent fixtures like sinks, toilets, and kitchen appliances are included to show functionality.
- Dimensions: Accurate measurements for walls and key spaces to provide clarity.
How to Draw a Floor Plan by Hand (The Traditional Method)
While digital tools have transformed design, knowing how to draw a floor plan by hand provides a strong foundation and can be done without special equipment. Here is a step-by-step guide:
Step 1: Gather Your Materials
For creating a hand-drawn floor plan, you will need:
- Graph paper (the grid lines help maintain scale)
- Pencil and eraser
- Measuring tape
- Ruler or straightedge
- Calculator for scaling calculations
Step 2: Measure the Space Accurately
Accurate measurements are the foundation of any good floor plan. Take time to:
- Measure the length and width of each room
- Note the location and size of doors, windows, and architectural features
- Measure fixed installations like fireplaces or built-in shelving
- Record the position of electrical outlets, switches, and plumbing fixtures
- Measure wall thickness (typically 4-6 inches for exterior walls, 4 inches for interior)
Step 3: Choose Your Scale
Select a consistent scale that works for your paper size:
- Common scales include 1/4 inch = 1 foot or 1 centimeter = 1 meter
- For larger spaces, you might need to use 1/8 inch = 1 foot
- Write your chosen scale on the floor plan for reference
Step 4: Draw the Walls and Structure
With your measurements and scale in hand:
- Start by drawing the exterior walls as double lines to represent thickness
- Add interior walls, maintaining proper scale
- Ensure all walls meet at right angles unless your space has unique architectural features
- Use light pencil strokes initially so you can make adjustments
Step 5: Add Doors, Windows, and Openings
Once your walls are in place:
- Add doors with arcs to show swing direction
- Draw windows as double lines
- Include any openings between rooms
- Label standard dimensions for reference (e.g., 36″ doors, 30″ windows)
While this method provides a great understanding of your space, it can be time-consuming and difficult to edit. If you make a mistake or want to change the layout, you often have to start over from scratch. This is where a modern design software like Foyr provides a significant advantage, offering a better answer to your question, “how to draw a floor plan?”
How to Draw a Floor Plan with Software (The Modern Method)
Learning how to draw a floor plan using specialized software significantly improves efficiency and enables easy modifications. Follow these steps for a better experience:
Step 1: Choose the Right Software
Selecting the right software is crucial for an efficient design process:
- Look for user-friendly interfaces with intuitive controls
- Consider programs offering extensive object libraries
- Ensure the software can export in formats needed for sharing
- Evaluate whether 3D visualization capabilities are important for your project
Foyr Neo stands out as the ideal solution for creating professional floor plans, thanks to the intuitive drag-and-drop interface and powerful 3D rendering capabilities.
Step 2: Create a New Project & Define the Room Shape
Beginning a digital floor plan requires proper setup and clear spatial boundaries. Establishing accurate dimensions now prevents frustrating adjustments later in your design process.
- Set up your project with the correct units and scale
- Define the overall dimensions of your space
- Draw exterior walls first, then add interior walls
- Use the software’s snap-to-grid feature for precision
Step 3: Add Doors and Windows with Precision
Accurate placement of openings determines how light, air, and people move through your space. Digital tools like Foyr offer unprecedented precision for these crucial elements.
- Select door and window tools from the software library
- Place them at exact measured locations
- Adjust swing directions and opening styles as needed
- Set standard or custom sizes based on your requirements.
Step 4: Furnish the Space from a Digital Library
You can use the software’s library to add furniture and appliances to your floor plan, improving the design’s functionality.
- Access extensive libraries of furniture and fixtures
- Drag and drop items into your floor plan
- Resize elements to match your actual or planned furniture
- Experiment with different arrangements without redrawing
Step 5: Add Details, Colors, and Annotations
One of the most significant advantages of software is the ability to add detail. You can
- Apply different flooring materials, paint colors, and textures to walls and surfaces.
- Add text annotations to label rooms, specify materials, or include essential notes for contractors or clients.
Step 6: Instantly Generate 2D and 3D Views
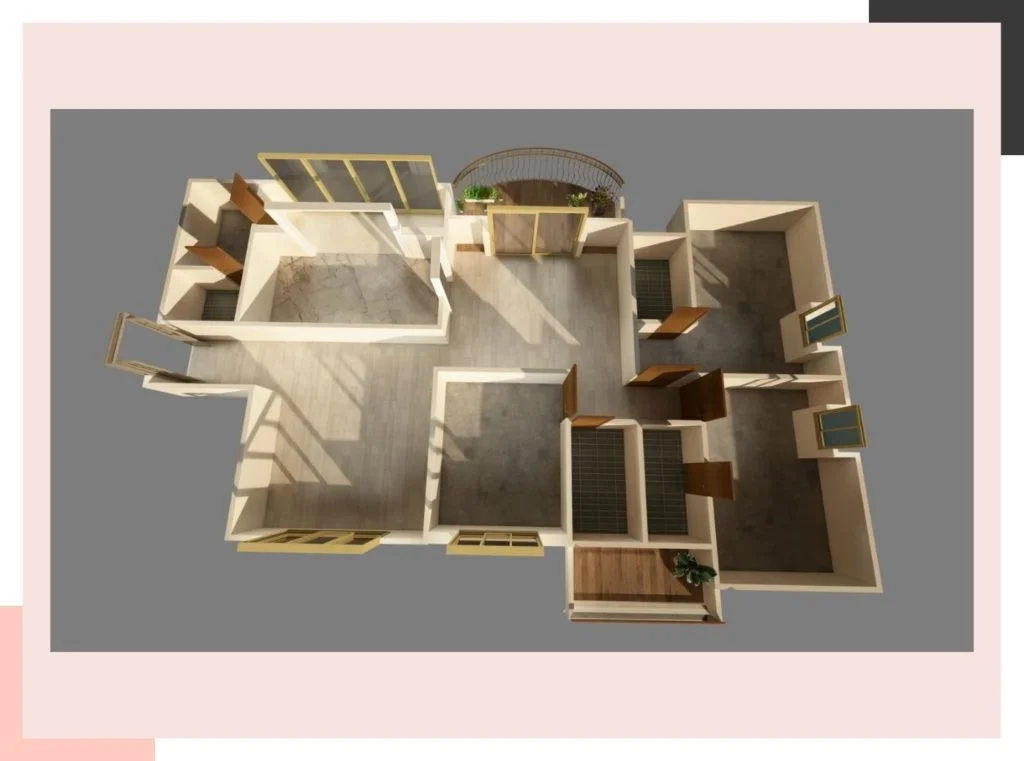
With your plan complete, software can instantly generate both a top-down 2D floor plan and a fully immersive 3D view.
- Switch between 2D floor plans and 3D visualizations
- View your space from different angles
- Experience virtual walkthroughs of your design
- Make adjustments based on what you see in 3D
Tips for Creating a Functional and Livable Layout
After you figure out how to draw a floor plan, the next step is to ensure the layout is functional. Consider how people will move through the space and whether the arrangement supports your lifestyle.
- Establish Zones (Social, Private, Work): Group rooms and areas by function. For instance, keep private zones like bedrooms separate from social zones like the living room and kitchen. This creates a more organized and intuitive living experience.
- Consider Traffic Flow and Pathways: Ensure there are clear, unobstructed pathways throughout the home. A typical walkway should be at least 3 feet wide. Analyze the main traffic routes, from the entrance to the kitchen, or from the bedrooms to the bathrooms to prevent bottlenecks.
- Plan for Furniture Placement: Use your floor plan to test different furniture arrangements. With a tool like Foyr Neo, you can use the 3D view and its drag-and-drop furniture library to see precisely how pieces will fit and interact. This eliminates guesswork and prevents you from buying furniture that is too large or too small for the space.
- Incorporate Ample Storage: Good design includes sufficient storage. Identify opportunities for closets, built-in shelves, or cabinets. A well-placed storage solution can reduce clutter and improve the overall functionality of a room without disrupting the flow.
- Prioritize Natural Light: Take note of window placements and how light enters the rooms. Arrange furniture to take advantage of natural light, and avoid blocking windows with large items. Good lighting can make a space feel larger, more open, and more inviting.
Top 5 Mistakes to Avoid When Drawing a Floor Plan
Learning how to draw a floor plan also means knowing what not to do. Avoiding these common errors will ensure your design is accurate and practical.
- Mistake 1: Inaccurate Measurements: The most critical error is starting with incorrect measurements. Small inaccuracies can compound, leading to a plan where furniture does not fit or hallways are too narrow. Always double-check your measurements before drawing.
- Mistake 2: Forgetting Wall Thickness: Beginners often draw walls as single lines, forgetting to account for their thickness. Interior walls are typically 4-5 inches thick, while exterior walls are thicker. Including wall thickness is essential for an accurate representation of the usable living space.
- Mistake 3: Ignoring Door and Cabinet Swings: Forgetting to account for the space a door needs to swing open is a common oversight. This can lead to doors that hit furniture, other doors, or fixtures. The same applies to cabinet doors, especially in kitchens and bathrooms.
- Mistake 4: Poor Traffic Flow: A floor plan might look good on paper, but it could be impractical to live in. Avoid creating awkward pathways, dead-end corridors, or forcing people to walk through one room to access another (such as a bedroom). The flow should feel natural and efficient.
- Mistake 5: Not Planning for Furniture: Drawing an empty room is easy, but the real challenge is making it functional with furniture. Always draw key furniture pieces to scale on your plan. This helps you confirm that a room is large enough for its intended purpose and that there is enough space to move around comfortably.
Conclusion
Drawing a floor plan is an empowering step toward bringing your interior design visions to life. Whether you prefer the tactile satisfaction of manual drawing or the precision and flexibility of software, understanding the process is key. With careful planning, attention to detail, and the right tools, you can create a floor plan that serves as a solid foundation for your project.
As a comprehensive interior design software, Foyr makes the process seamless with powerful, intuitive tools:
- Experience a highly intuitive interface designed for beginners and professionals to start creating beautiful designs within minutes.
- Access a vast 3D library with 60,000+ render-ready items to furnish your floor plans with perfect accuracy.
- Instantly generate stunning 12K photorealistic renders to visualize your space and design choices with incredible life-like clarity.
- Utilize powerful AI-assisted features that automate complex tasks, helping you create professional-grade designs much faster.
Embark on your interior design journey today! Sign up for a 14-day free trial of Foyr and unlock the potential to design stunning spaces with ease and confidence.
FAQs
Do I need professional training to draw a floor plan?
No, you don’t need professional training to draw a basic floor plan. With patience and attention to detail, anyone can create one. For complex projects, however, consulting a professional is recommended.
Can I switch from a manual floor plan to a digital one?
Absolutely! You can use your manual floor plan as a reference to create a digital version using software like Foyr Neo.
How accurate do my measurements need to be?
For planning purposes, measurements should be as accurate as possible. Small errors can add up and affect the overall layout.
Is floor plan software expensive?
Many floor plan software options offer free trials or affordable plans. Foyr Neo provides various pricing options to suit different needs.
How can I draw my own floor plan for free?
You can easily learn how to draw a floor plan for free using several methods. The manual approach only requires basic materials like graph paper and a pencil. For a digital solution, many software platforms offer free versions or trial periods. For instance, Foyr offers a 14-day free trial, providing full access to its intuitive design tools.
Can ChatGPT draw floor plans?
No, ChatGPT is a language model and cannot directly create visual outputs like a floor plan. It can provide you with text-based descriptions, steps on how to draw a floor plan, or layout ideas. However, to create an actual visual diagram, you will need to use dedicated graphic design software or a specialized floor plan creator like Foyr.
What is the best floor planner app?
The best floor planner app is one that is intuitive, accurate, and tailored to your specific needs. Look for features like an extensive library of furniture and materials, both 2D and 3D viewing capabilities, and easy sharing options. A platform like Foyr is a strong contender because it combines all these features into a user-friendly, web-based tool for seamless designing.
What is the best software for drawing floor plans for beginners?
For beginners, the best software is one with a simple interface, helpful tutorials, and drag-and-drop functionality. Tools that do not require extensive technical knowledge are ideal. Foyr Neo is designed for this purpose, offering a very short learning curve so you can quickly and easily transition from an idea to a complete 2D and 3D floor plan, even without prior experience.


