Introduction
Hello, fellow interior designers! Have you ever wrapped up a project and wondered if your client has everything they need to enjoy and maintain their new space? As interior designers, our job isn’t just about creating beautiful environments; it’s also about ensuring our clients feel confident and informed moving forward. That’s where a client handover folder comes into play.
A well-crafted handover folder is more than a courtesy—it’s a powerful tool that encapsulates your project’s value and solidifies your professional relationship with your client. In this comprehensive guide, we’ll delve into what a client handover folder is, why it’s essential, and how to create one that leaves a lasting impression.
Why a Client Handover Folder Matters?
Enhances Professionalism
Providing a client handover folder demonstrates your commitment to excellence and attention to detail. It shows that you care about your client’s experience even after the project is completed.
Facilitates Smooth Transition
Clients may feel overwhelmed after a renovation or redesign. A handover folder equips them with all the necessary information to enjoy their new space without confusion or hassle.
Reduces Post-Project Queries
By anticipating common questions and providing answers upfront, you save time and reduce the likelihood of follow-up calls or emails seeking clarification.
Builds Trust and Relationships
Going the extra mile fosters trust and can lead to repeat business or referrals. Clients appreciate when you make their lives easier, and a handover folder does just that.
What to Include in Your Client Handover Folder?
Creating a comprehensive handover folder ensures your client has all the information they need at their fingertips. Here’s a detailed breakdown of what to include:
1. Personalized Welcome Letter
Start with a warm, personalized letter thanking your client for their trust and collaboration. Highlight key moments from the project and express your enthusiasm for the final results.
Tips:
- Address the client by name.
- Mention specific aspects of the project they were particularly invested in.
- Include your signature for a personal touch.
2. Project Overview
Provide a summary that recaps the project’s journey:
- Design Objectives: Outline the initial goals and how they were achieved.
- Challenges and Solutions: Briefly discuss any obstacles and how you overcame them.
- Before and After Photos: Visually showcase the transformation with high-quality images.
Benefits:
- Reinforces the value you’ve provided.
- Gives the client a narrative they can share with others.
3. Contact Information
Ensure your client knows how to reach you for future projects or questions:
- Your Contact Details: Phone number, email, office address, and business hours.
- Team Contacts: Introduce key team members who worked on the project.
- Preferred Communication Channels: Specify how you prefer to be contacted for different needs.
4. Maintenance and Care Instructions
Educate your client on how to care for their new space:
- Cleaning Guidelines: Recommend specific cleaning products and methods for different materials (e.g., hardwood floors, marble countertops).
- Fabric Care: Instructions for upholstery, drapery, and rugs.
- Preventative Measures: Tips to prevent damage, like using coasters on wooden surfaces.
- Seasonal Maintenance: Advice on tasks like sealing stone surfaces or caring for outdoor furniture.
Why It Matters:
- Extends the longevity of the design.
- Empowers clients to maintain the quality of their space.
5. Product Specifications and Suppliers
Provide detailed information about all products used:
- Furniture and Decor: Brand names, model numbers, and customizations.
- Lighting Fixtures: Specifications and bulb types.
- Materials: Details on flooring, tiles, wallpapers, and fabrics.
- Artwork: Artist information and care instructions.
Include Supplier Contacts:
- In case the client wants to purchase additional items or needs replacements.
- Offers transparency about where items were sourced.
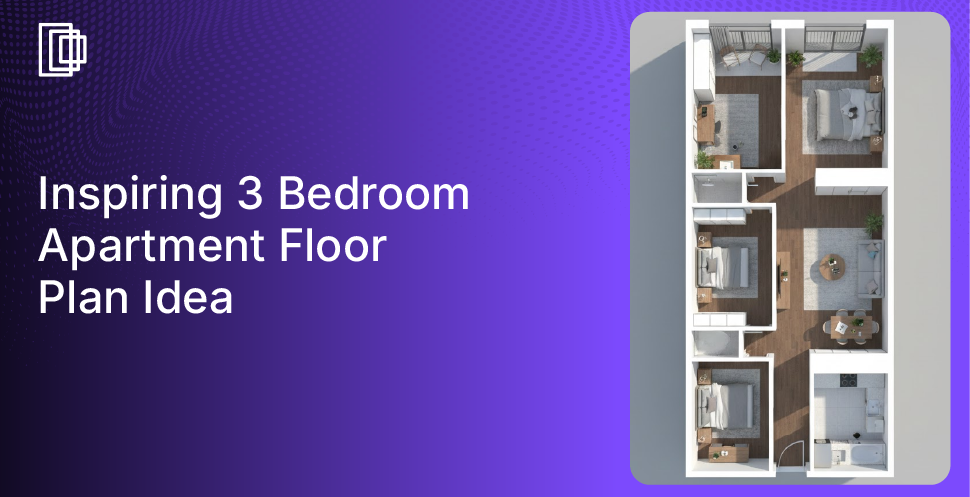
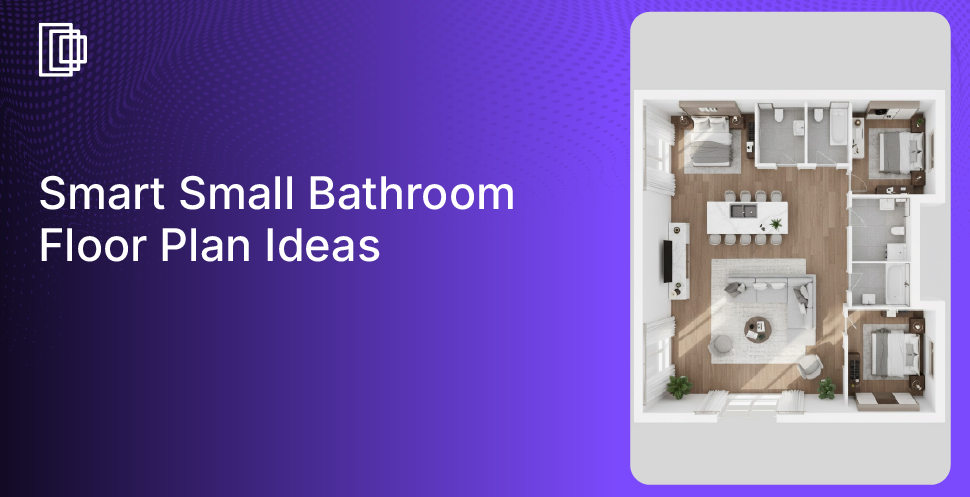
6. Floor Plans and Layouts
Include finalized versions of:
- Floor Plans: With measurements and annotations.
- Furniture Layouts: Placement of all movable items.
- Electrical and Plumbing Schematics: Useful for future renovations or troubleshooting.
Benefits:
- Assists in rearranging furniture or planning new additions.
- Provides essential information for contractors or service professionals.
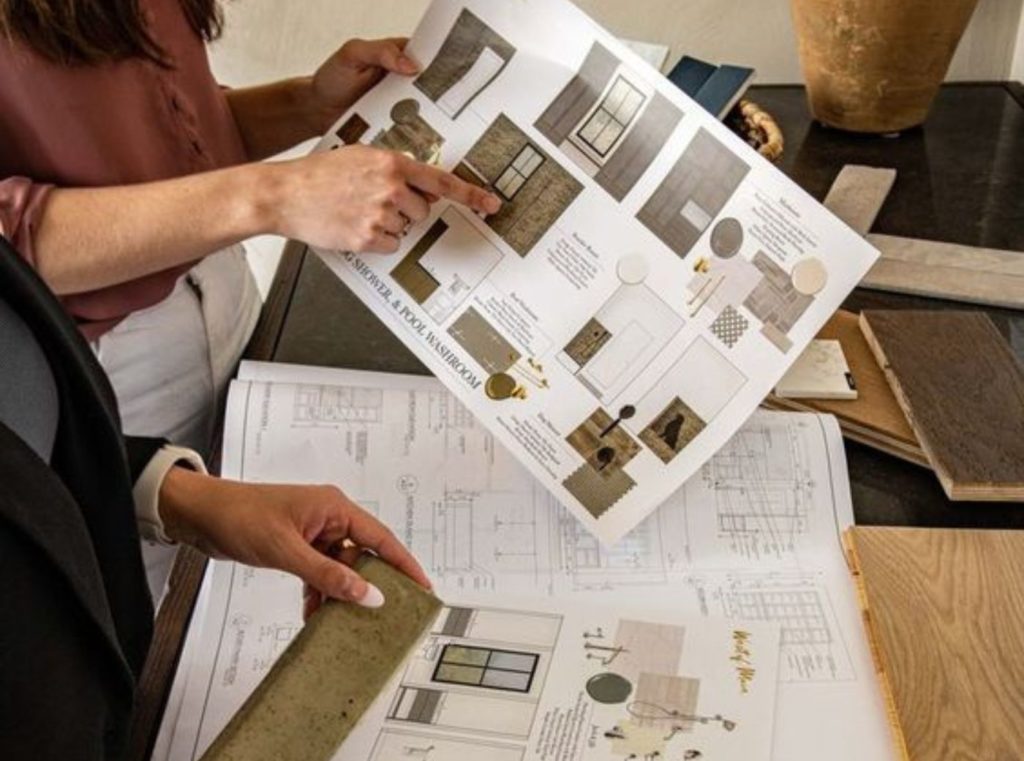
 7. Paint Colors and Finishes
Detail every paint and finish used:
- Paint Schedule: Room-by-room breakdown with brand, color name, and code.
- Finish Types: Gloss level and application areas.
- Wallpaper Details: Supplier and pattern information.
Tips:
- Include paint swatches for easy matching in future touch-ups.
- Note any special application instructions.
8. Appliance Manuals and Warranties
Gather all documentation related to appliances and equipment:
- User Manuals: For operation and troubleshooting.
- Warranty Certificates: Including duration and coverage details.
- Service Contacts: Authorized service centers or professionals.
Why It’s Important:
- Ensures clients can properly use and maintain appliances.
- Facilitates repairs or servicing under warranty terms.
9. Certificates and Compliance Documents
Provide copies of any relevant certifications:
- Safety Compliance: Fire safety, electrical safety certificates.
- Environmental Certifications: For sustainable materials or energy-efficient appliances.
- Permits and Approvals: Any permits obtained during the project.
Benefits:
- Offers peace of mind regarding safety and legality.
- Essential for insurance purposes or future property sales.
10. Future Project Ideas and Recommendations
Encourage ongoing engagement:
- Suggested Additions: Ideas for future enhancements or complementary designs.
- Maintenance Schedule: Timeline for updates or refreshes (e.g., repainting in five years).
- Seasonal Decor Tips: How to adapt the space for different holidays or seasons.
11. Testimonials and Feedback Form
Invite your client to share their experience:
- Testimonials: Encourage them to provide a review or testimonial.
- Feedback Form: Include a questionnaire to gather insights for improving your services.
Why It Matters:
- Testimonials can be used in marketing materials.
- Feedback helps you refine your client experience.
12. Additional Resources
Provide extra value with:
- Homeowner’s Guide: Tips on interior design principles or styling advice.
- Preferred Vendor List: Trusted professionals for services like landscaping, cleaning, or security systems.
- Discount Offers: Exclusive deals from suppliers or partners.
Tips for Assembling Your Handover Folder
Creating the folder is as important as the content itself. Here’s how to make it exceptional:
Digital vs. Physical Formats
- Digital Folder:
- Pros: Easily shareable, environmentally friendly, can include interactive elements like hyperlinks and videos.
- Cons: May get lost in overflowing inboxes, less personal.
- Physical Folder:
- Pros: Tangible keepsake, can include physical samples, makes a strong impression.
- Cons: Less convenient to update, not as eco-friendly.
Recommendation: Consider providing both—a physical folder for the initial handover and a digital version for easy access and backups.
 Organization is Key
- Use Sections: Divide content into clearly labeled sections with tabs.
- Table of Contents: Include for quick reference.
- Consistent Formatting: Use the same fonts, colors, and styles throughout.
Branding
- Logo Placement: Feature your logo on the cover and throughout the document.
- Color Scheme: Use your brand colors for headings and accents.
- Professional Printing: If creating physical copies, invest in high-quality printing and materials.
Personal Touch
- Handwritten Notes: Add a handwritten thank-you note.
- Customized Content: Tailor the information to the client’s specific project and preferences.
- Gift Inclusion: Consider adding a small gift, like a scented candle or a book related to their interests.
How to Present the Handover Folder
The delivery of the handover folder is an opportunity to reinforce your professionalism and appreciation:
- Schedule a Meeting: Present the folder in person if possible, walking the client through each section.
- Virtual Walkthrough: If meeting in person isn’t feasible, schedule a video call to guide them through the contents.
- Follow-Up Email: Send a summary email with key points and attach the digital version of the folder.
Tips:
- Be Prepared: Anticipate questions and be ready to provide answers.
- Express Gratitude: Use this time to thank the client once more and express your willingness to assist in the future.
 Case Studies: Successful Client Handover Folders
Case Study 1: Transforming Client Experience
An interior designer based in New York created personalized handover folders for her clients, including a custom watercolor illustration of their redesigned space. Clients were thrilled with the personal touch, leading to multiple referrals and a feature in a local design magazine.
Case Study 2: Streamlining Post-Project Communication
A California-based designer noticed a significant drop in post-project inquiries after implementing detailed handover folders. This allowed the team to focus more on new projects, increasing overall productivity.
Benefits for Your Clients and Your Business
For Clients:
- Empowerment: They feel confident in maintaining and enjoying their new space.
- Convenience: All essential information is consolidated in one place.
- Satisfaction: Enhances their overall experience, leading to higher satisfaction.
For Your Business:
- Professional Image: Sets you apart from competitors.
- Efficiency: Reduces time spent on post-project support.
- Client Loyalty: Increases the likelihood of repeat business and referrals.
 Conclusion
Creating a client handover folder is a thoughtful and professional way to conclude a project. It not only provides your clients with valuable information but also enhances your reputation as a meticulous and client-focused interior designer.
By investing time in preparing a comprehensive handover folder, you demonstrate your commitment to excellence and client satisfaction. It’s an investment that pays dividends in client loyalty, referrals, and personal fulfillment.
We’d Love to Hear From You!
Have you incorporated client handover folders into your practice? What has been your experience? Share your stories or additional tips in the comments below. If you’re looking for innovative design tools – Foyr can help streamline your process. Let’s support each other in elevating the standard of interior design services across the USA.


 7. Paint Colors and Finishes
 Organization is Key
 Case Studies: Successful Client Handover Folders