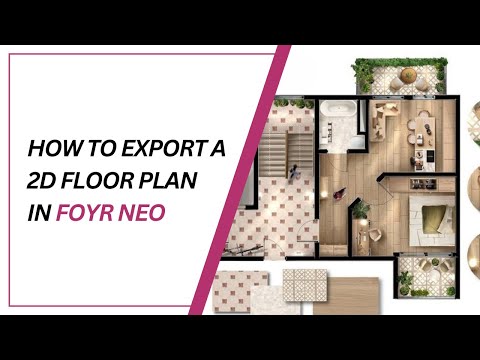
How to Upload a Floor Plan in Foyr Neo
How to Upload a Floor Plan in Foyr Neo
As an interior designer, accurate floor plans are fundamental to your project success. Foyr’s software provides a streamlined solution for converting 2D floor plans into accurate 3D models. This technical guide will walk you through the process of uploading, scaling, and converting your floor plans using Foyr.
Supported File Format
Foyr accepts common image file formats for floor plans:
- PNG files
- JPEG files
Upload Process
- Navigate to the top of the Foyr interface where you’ll find the “Upload Floor Plan” button
- Click on “Upload Now”
- Locate your floor plan file in your computer’s directory
- Select the file to proceed to the cropping screen
After selecting your file, you’ll be prompted to crop the image:
- Position the crop frame as close to the walls as possible
- If your plan includes external dimension markings that you need, ensure these are included in the crop
- Click “Proceed” to continue to the scaling phase
Foyr’s intelligent scaling system requires only a single known measurement to accurately scale your entire floor plan:
- In the scaling interface, select one end of a wall where you know the exact measurement
- Draw the ruler point to the opposite end of the same wall
- Enter the precise dimensions of that wall in the input field
- Click “Done” to process your floor plan
Using the Wall Tool
- Select the “Wall” option from the top menu
- Trace along the walls of your floor plan
- You don’t need to leave gaps for doors, windows, or walkways as Foyr’s AI will incorporate these openings once you add them
Using the Room Tool
For faster workflow:
- Select the “Room” option from the top menu
- This allows you to draw connected walls to form complete rooms more efficiently
Modifying Dimensions
If you need to adjust measurements after tracing:
- Select the wall that needs adjustment
- Input the correct measurement
- Select a perpendicular wall to establish which wall should compensate for the change
- The perpendicular wall will automatically adjust to accommodate your modification
To review your completed 3D floor plan:
- Navigate to the top-right corner of the interface
- Click on the “3D” button
- Your accurately scaled 3D model will be displayed, ready for further design work
Foyr’s floor plan tools streamline the transition from 2D plans to workable 3D models. The ability to upload, scale with a single measurement, and automatically detect openings significantly reduces the time spent on technical preparation, allowing you to focus on the creative aspects of your interior design projects.
By mastering this upload process, you’ll establish a solid foundation for all your design work in Foyr, ensuring spatial accuracy and proper scaling throughout your project lifecycle.